
Continuing with the theme of not letting perfect overcome good enough, I finally spent some time in the garage this week getting my ultralight grab-n-go tripod built.
Basic plan: Take the equatorial wedge I’d gotten assembled for the Celestron GT mount I picked up on ebay, and stick it on top of a tripod built using crutches for legs. I had already source the crutches at a Goodwill a number of weeks/months ago, and had plenty of scrap plywood sitting around. I just hadn’t gotten around to putting everything together yet. Trying to think up how to best to attach the legs to the platform, then how to build the spreader… the process had become mired in paralysis by analysis.
Enter the ‘napkin math’ approach: The featured image for this article is my first go-around at the problem, where I realized I could add tabs of the appropriate width to a triangle, lop the corners off, and just screw the legs directly to this tabbed irregular hexagon. Then I figured out how wide the spreader needed to be to keep the legs at a reasonable angle when the tripod was up, within the limit of the plywood stock available in the garage. A couple of minutes with the hand-held jigsaw and circular saw later, and voila!
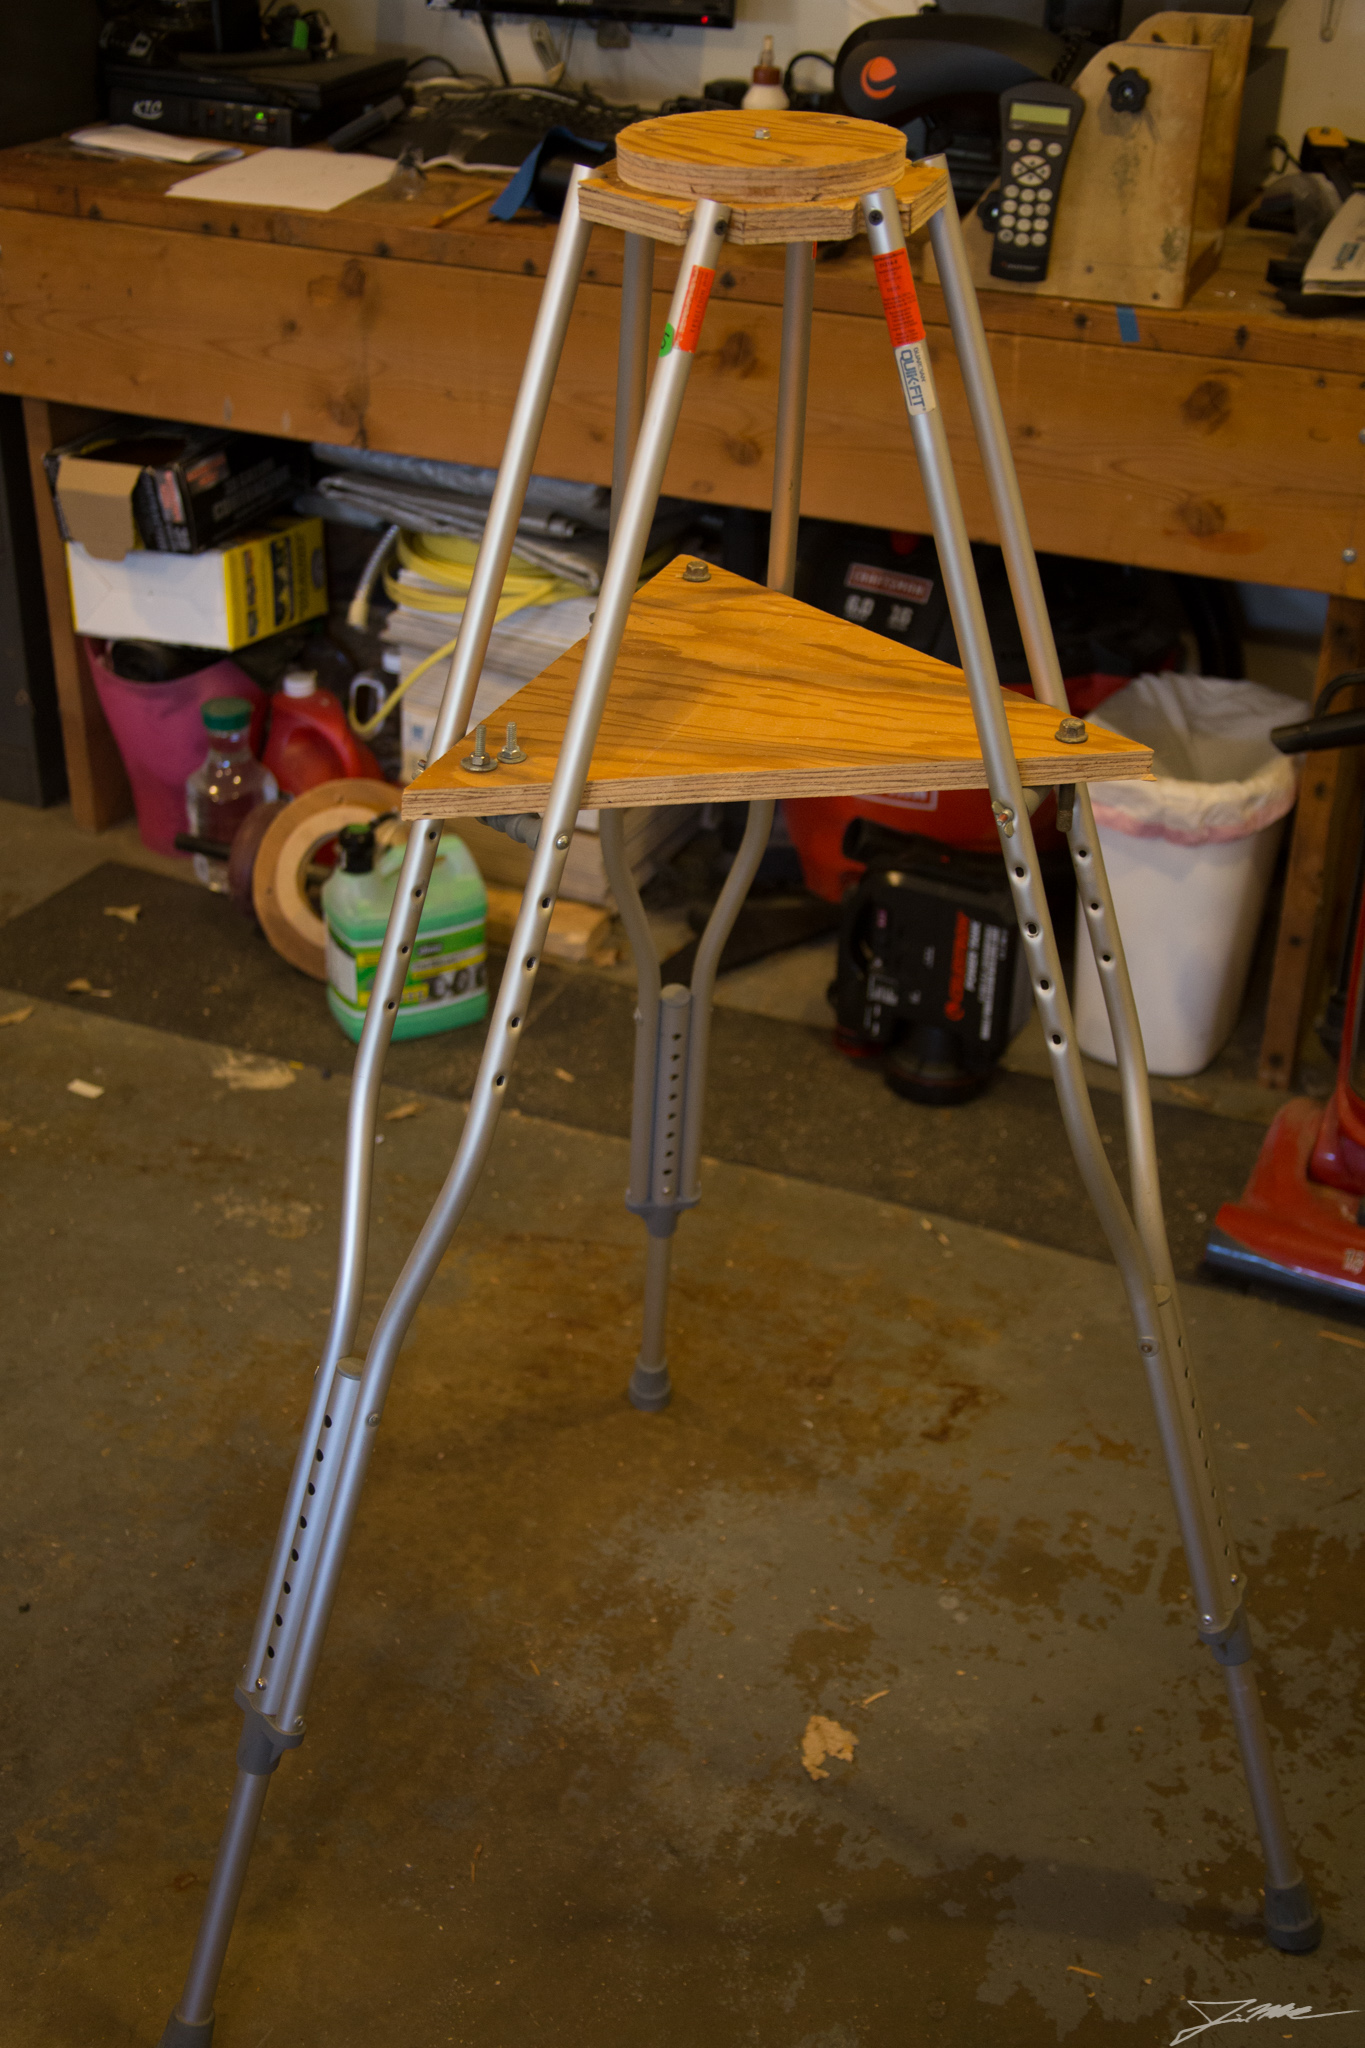
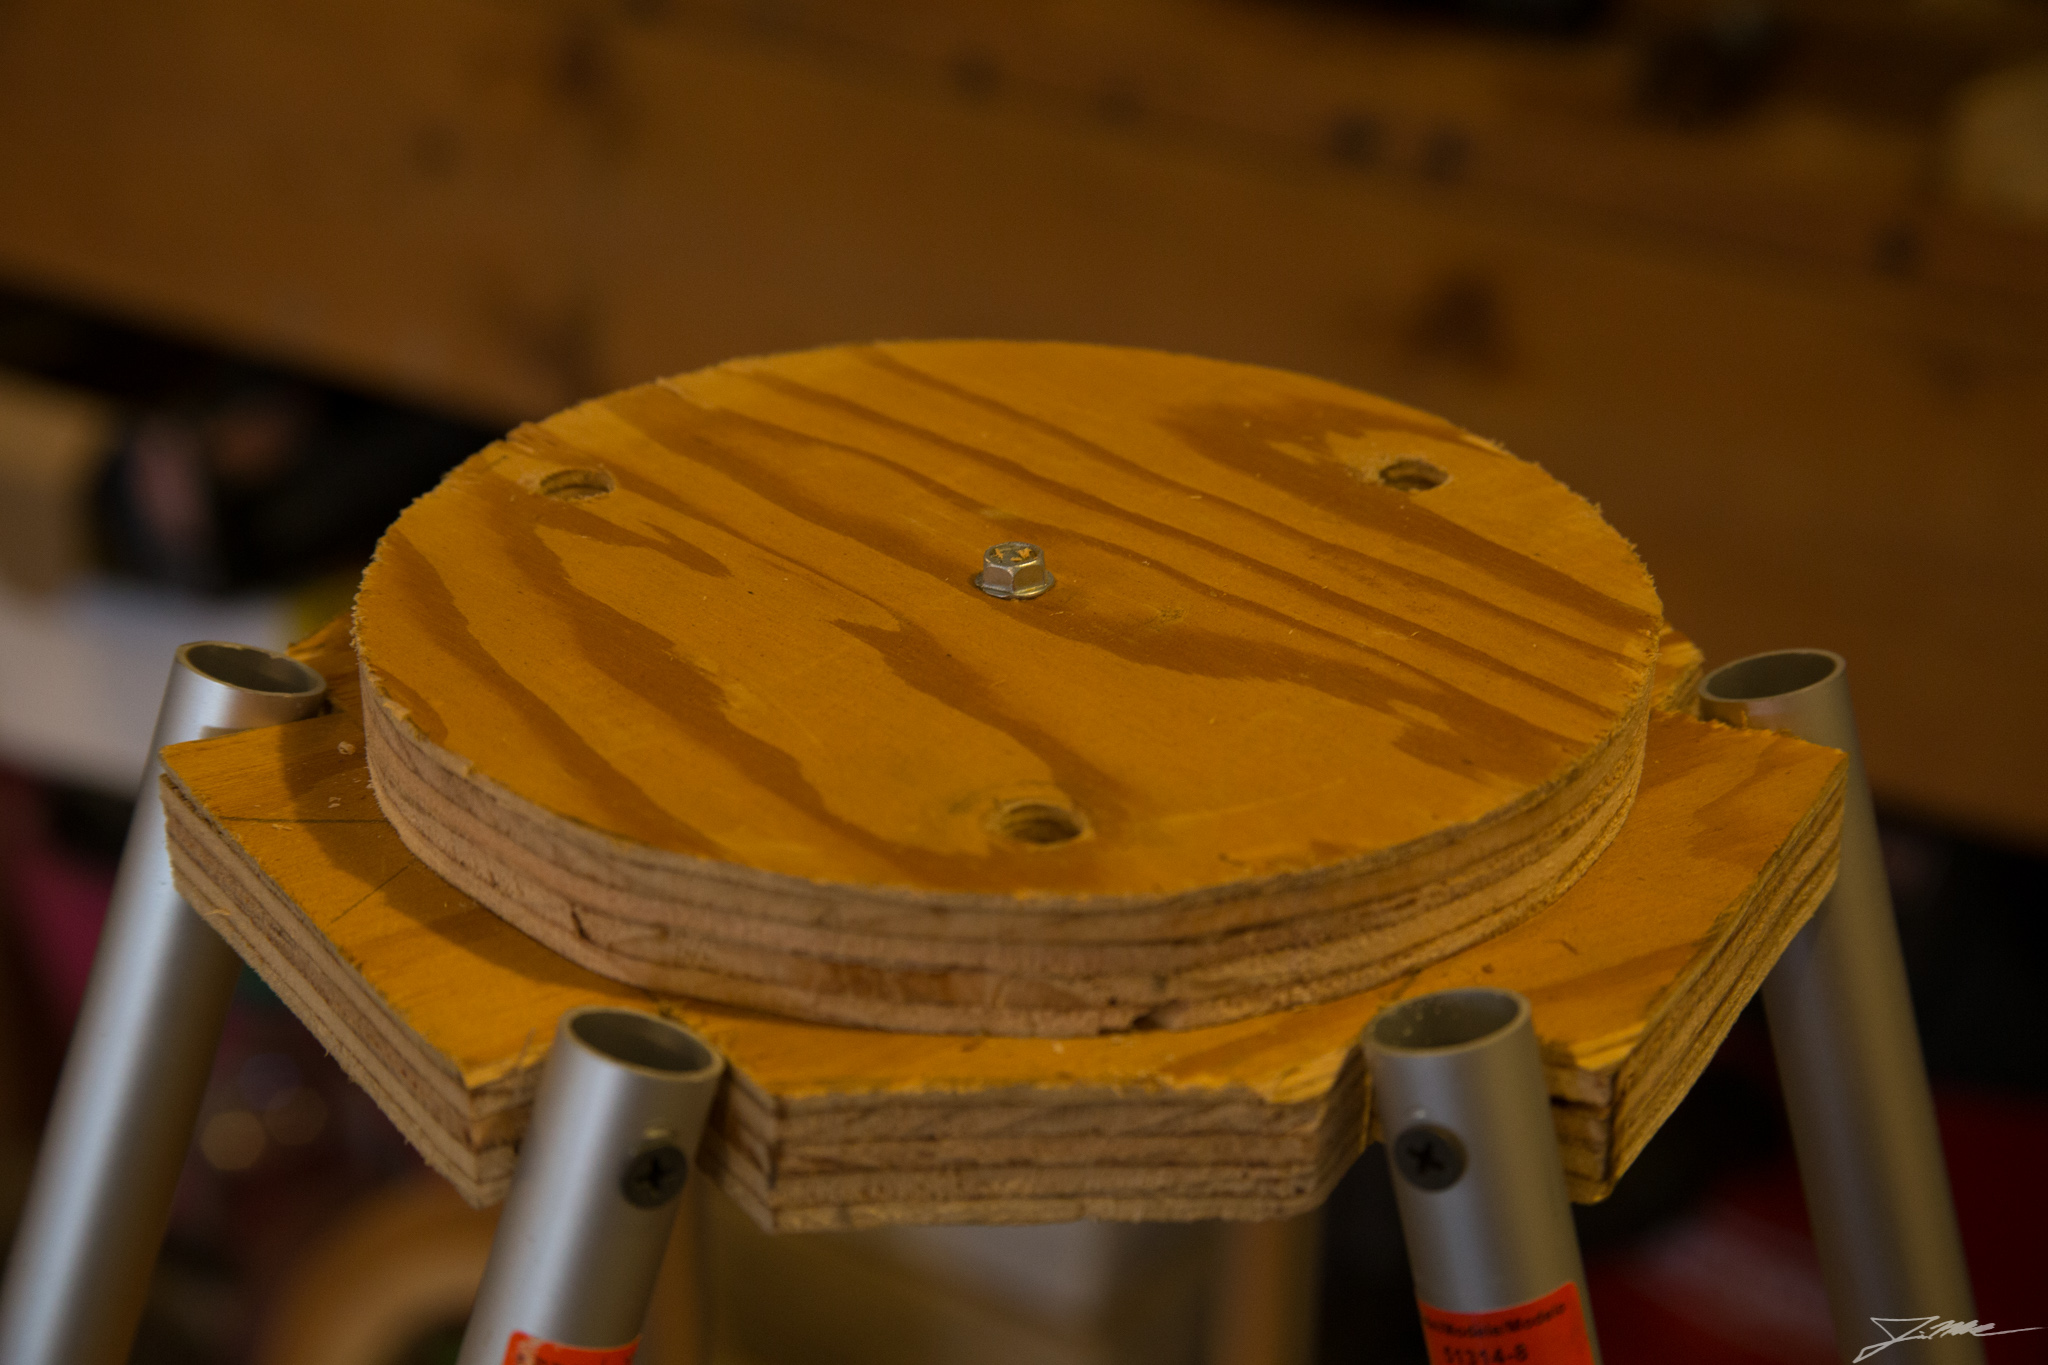
After I screwed the legs to the tripod ‘top plate’, I realized that they stuck up past the top of the plate, meaning I couldn’t set the wedge down flat on top. So I traced the aluminum pier top plate I have, marked the appropriate bolt-hole locations, then glued everything in place. I found a self-tapping hex screw with the same point-to-point diameter as the central locating pin on the large steel tripod, then dropped it in. While the use of small screws instead of hinges or threaded rod to attach the legs is distinctly sub-optimal, it’s a significantly more usable solution than leaving the crutches standing in a corner.
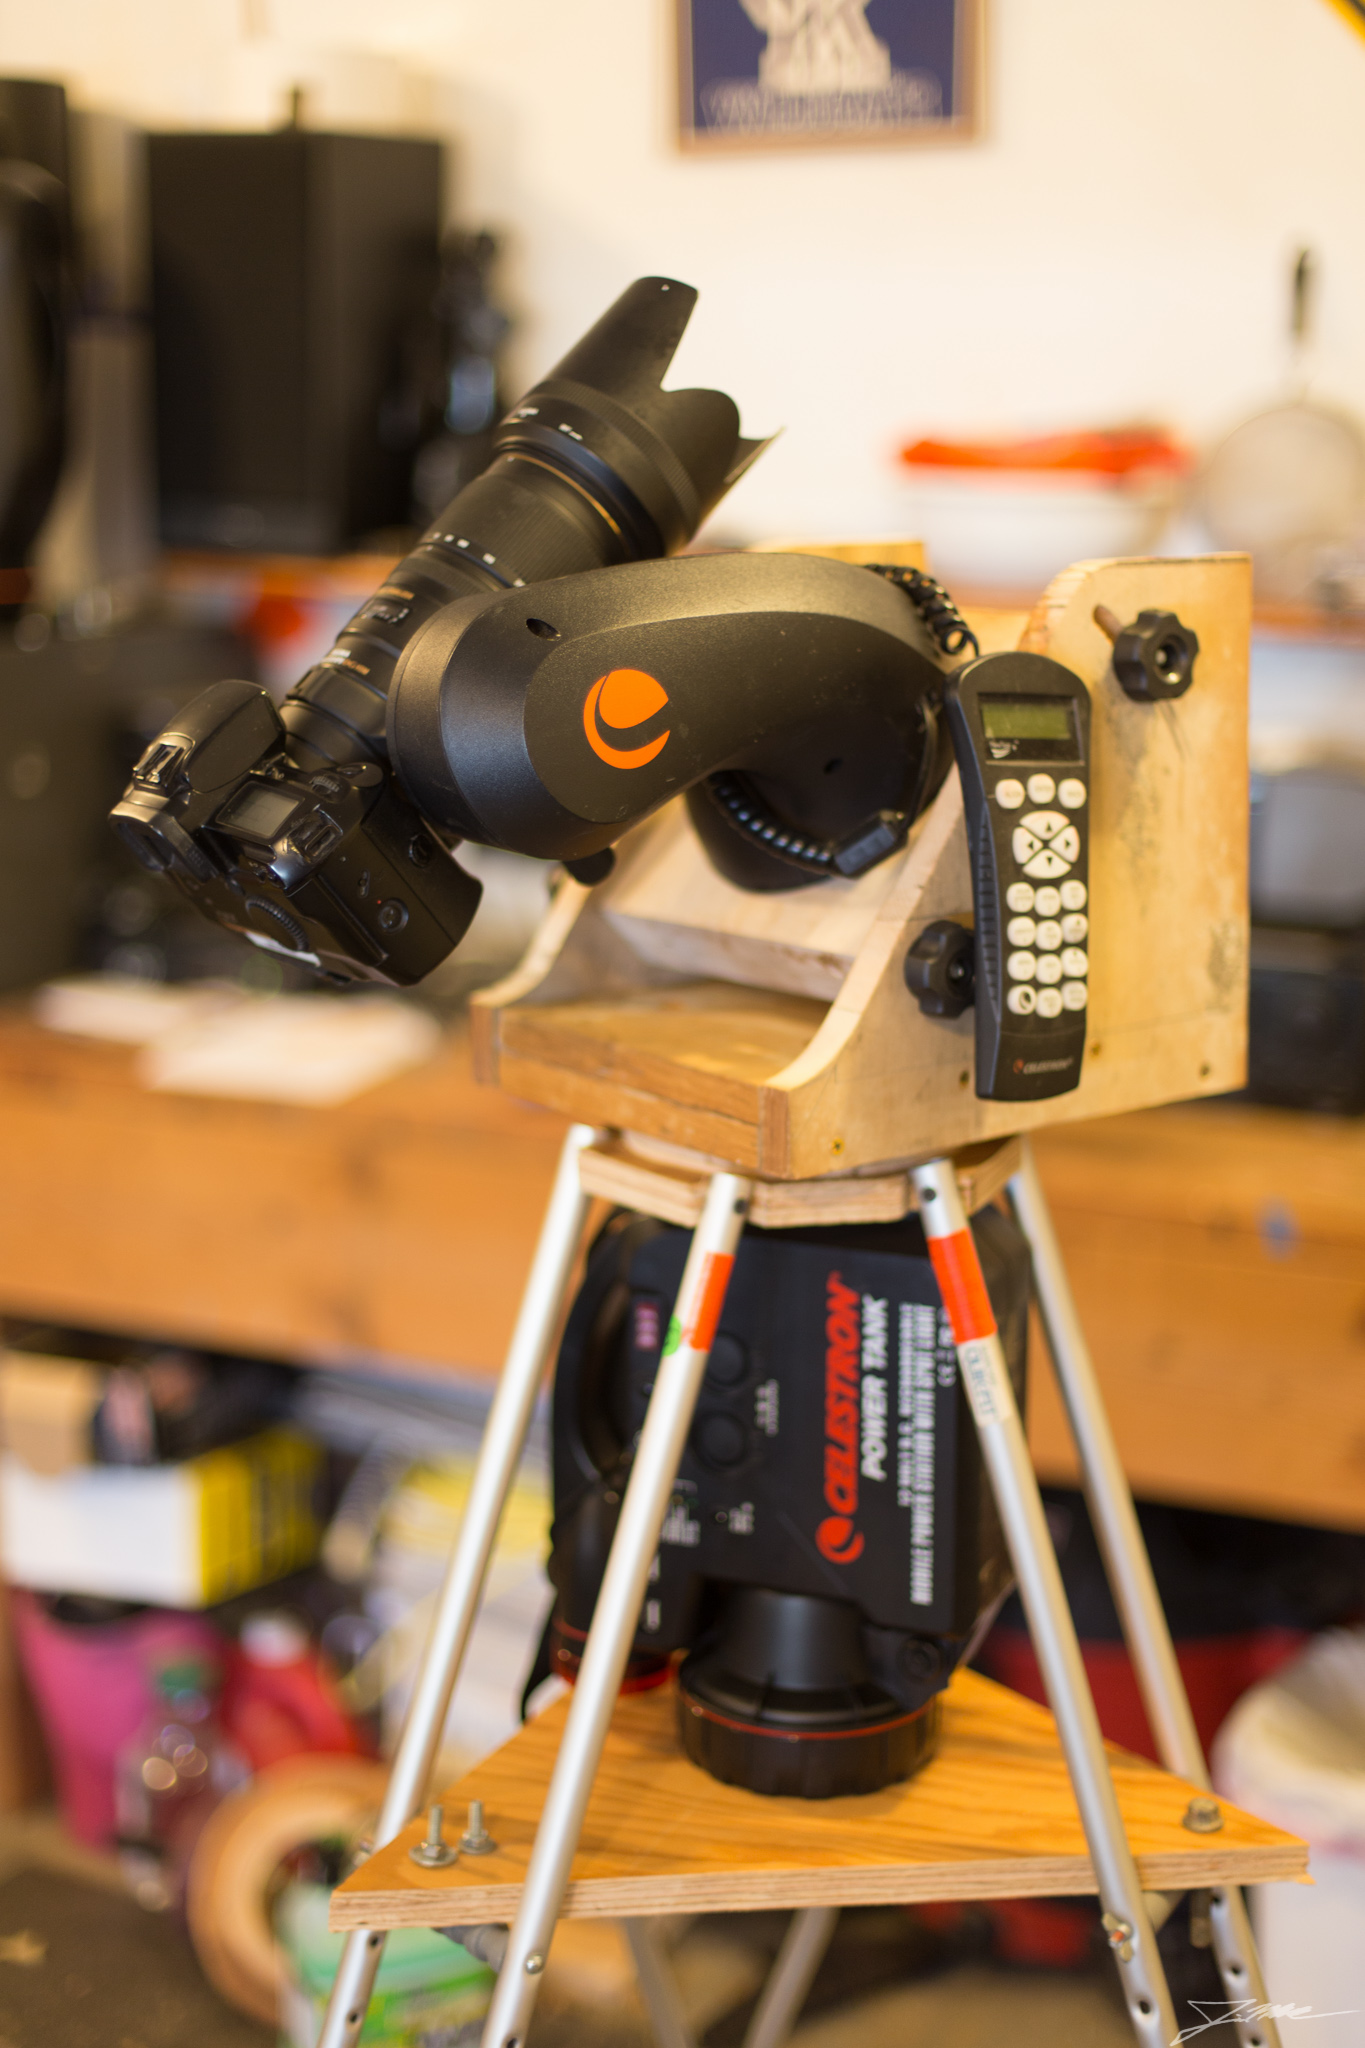
I posted a couple of pictures with the wedge and mount in place, but kept running into the “trying to take a picture in a dark(ish) garage with either my cellphone or point-n-shoot so the picture ends up looking like crap” – because the 6D was attached to the lens on the mount. Then I remembered I have an EOS film body, so I could pull the 6D, mount the A2, and show off the setup with pictures taken by the good camera:
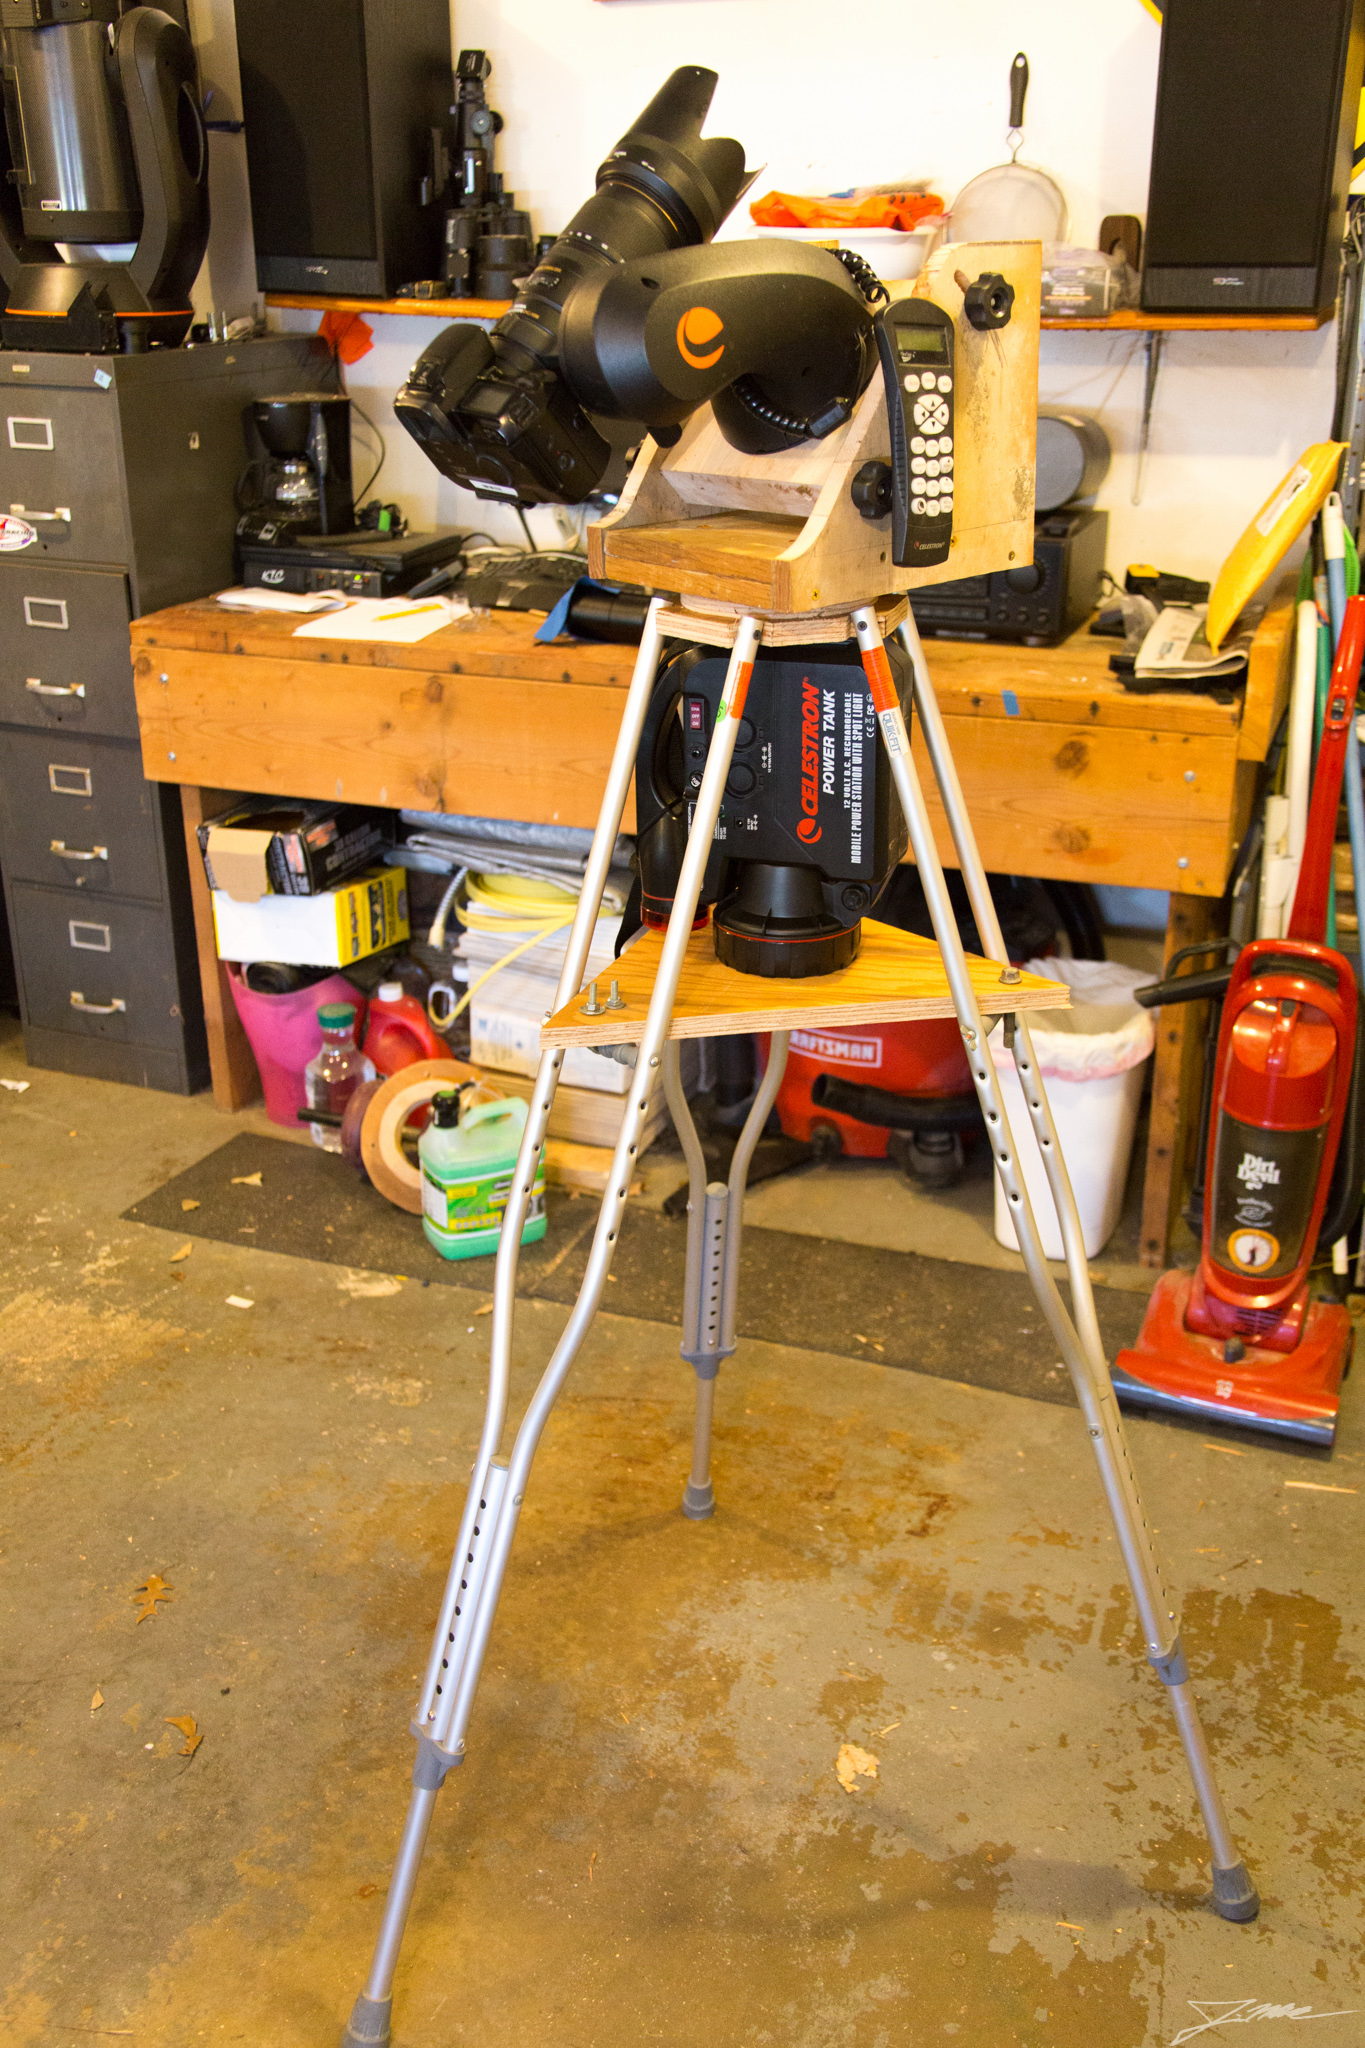
The shelf is conveniently the right height to stand the powertank on it, but I’m not sure it’ll clear the bolt heads when they’re installed. I think I have a solution to that issue, but it’ll take getting to Lowes and picking up some hardware to see if that ends up working. If it doesn’t, I can just point the powertank sideways and get more clearance, but it’ll mean I lose the ability to use the red light on the ground under the mount.
So in summary: Do now > Plan for later. Revisions can occur, but for now I’ve got a usable solution.
Leave a Reply