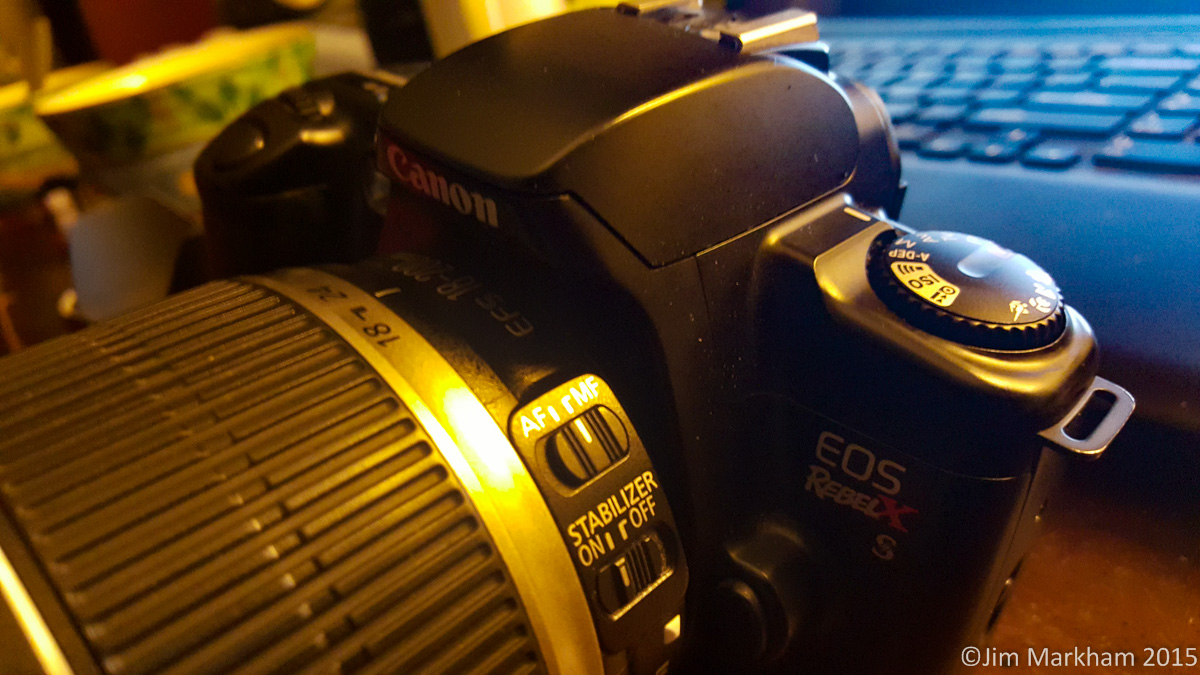
As an amalgam of semi-related imaging/targeting topics, I’ve decided to just throw some images that I’ve uploaded over the last couple of months into a post together, as they are at least tenuously tied together. As an experiment, I recently picked up another film camera. It allows me to shoot on film when the mood strikes, and it also allows me to do some testing of lenses or telescope imaging setups as it regards full-frame sensor size (as I continue to plot an eventual upgrade to the now 6-year old T1i). As a result, I ended up looking around teh intarwebz to see if anyone could explain exactly what the difference is between EF-S and EF lenses. Basically, it comes down to a ~1/4″ thick ring slightly bigger around than a quarter that exists as part of the mount face. This ring protrudes from the lens back into the camera body, thus preventing the accidental mounting of an EF-S lens onto a full-frame lens. The EF mount doesn’t have a recess for this ring, which makes contact with the mirror surround before the flange lugs can be rotated to lock the lens in place. This is important because some EF-S lenses have lens elements which also protrude back past the mounting flange, which then risks collision with the full-frame mirror. For those of you not up to speed on the inner workings of your camera, this is A BAD THING™
So… I checked the rear element on my 18-200mm lens, which is a range notably missing for full-frame cameras. Why, you ask? Because that sort of ‘super-zoom’ is a crazy range over which to make a lens drop a reasonable picture with an image circle large enough to cover a full-frame sensor. That said, I’m just crazy enough to ask “So is there actually enough clearance on this lens?” and to pull the rubber flange out of my lens to try. I checked with a straightedge, and the rear element on the 18-200 sticks out less than 1mm past the EF flange face. Since there is just at a millimeter of clearance inside the mirror box of a full-frame EF camera, I figured it’s worth a shot. While I’ve subsequently been able to show that this works for the lens in question, the EF-S 10-22mm lens is known to NOT work when the lens is zoomed out past 14mm, which goes back to the bad thing referenced above. While looking at the back of the lens assembly, I noticed that the outer diameter of the plastic flange looked strikingly similar to the EF75-300mm f/4-5.6 III USM lens I have:
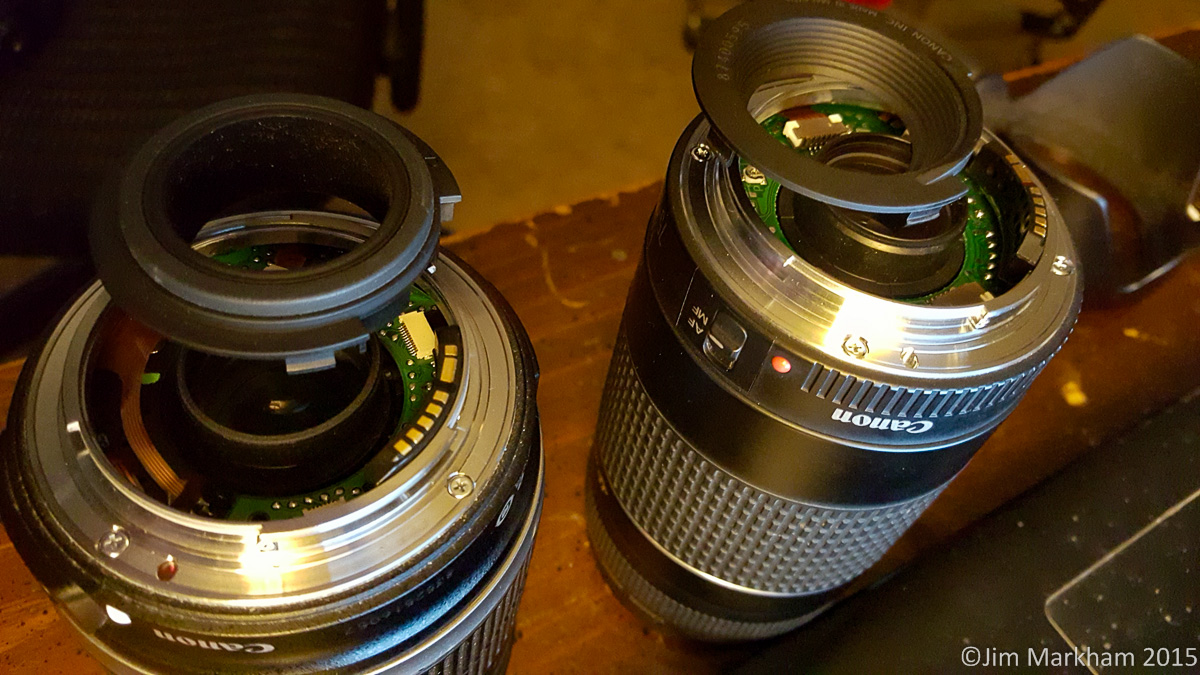
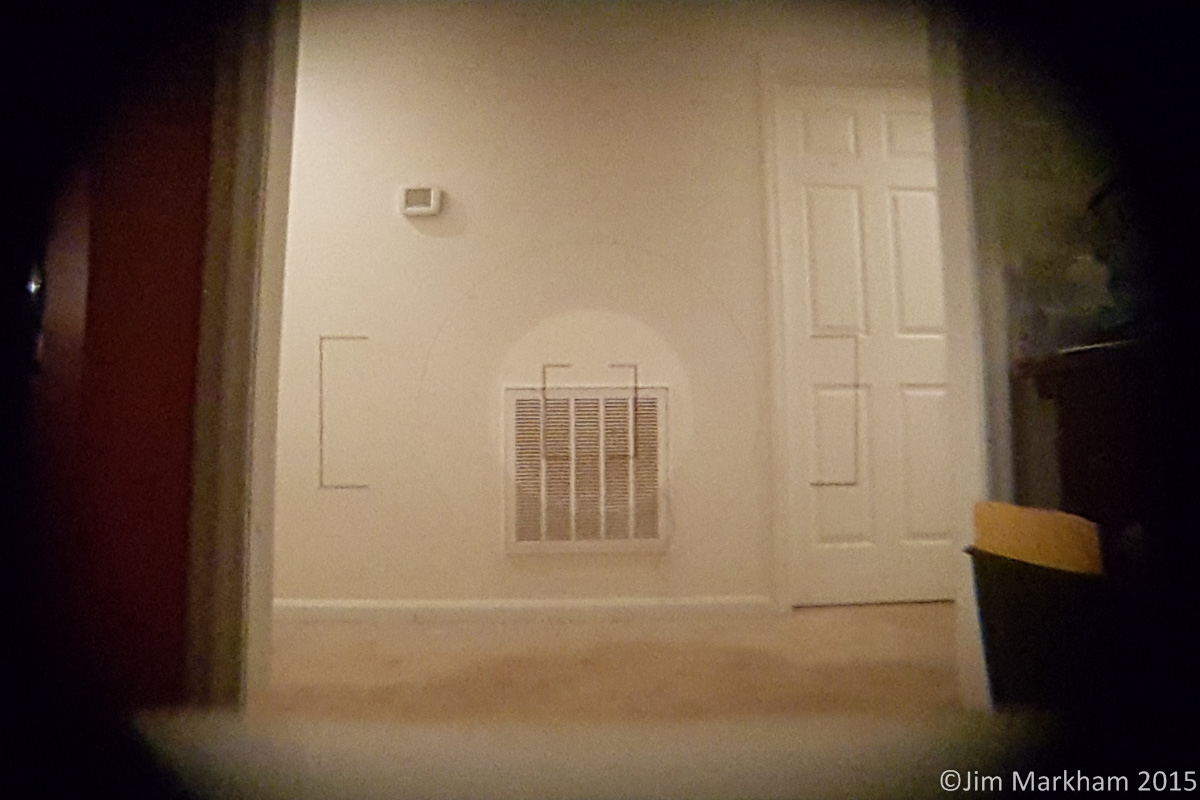
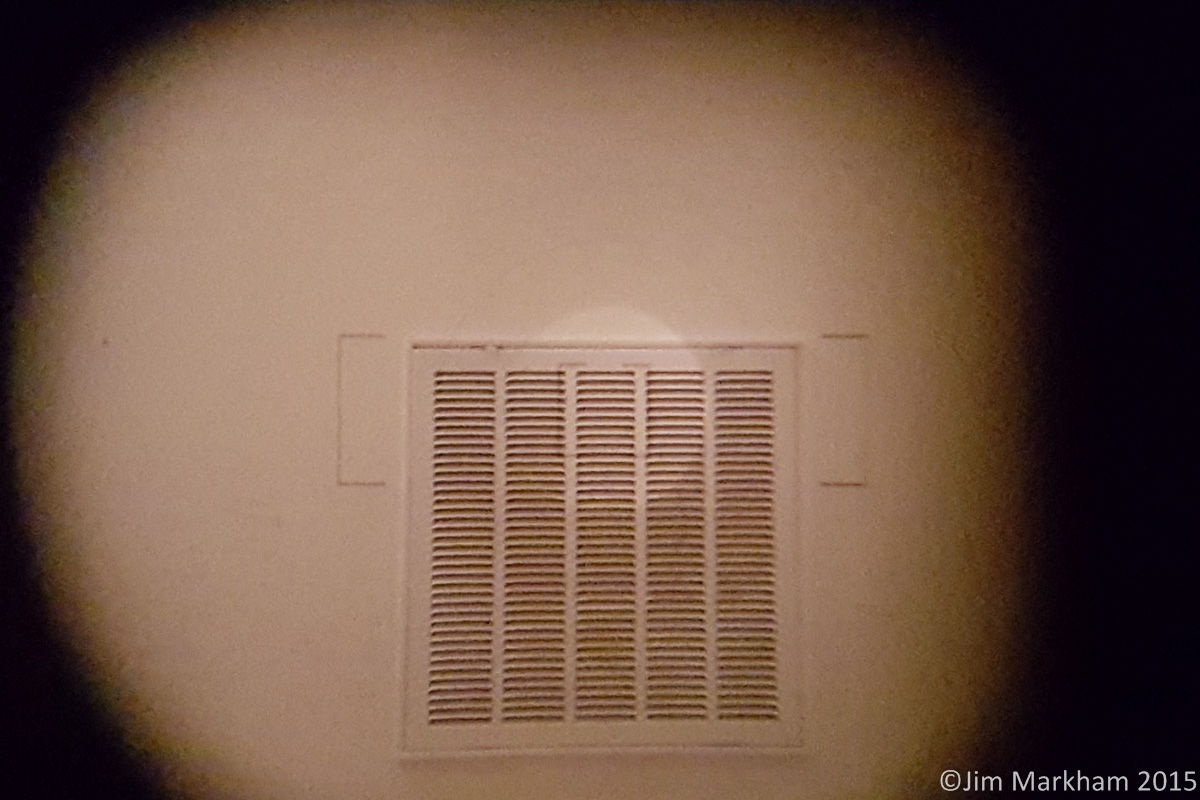
Well, it seems if you rotate the zoom ring to get the rear element moved forward in the lens body, both of these lenses can have their rear rings removed by simply hooking a finger into the hole and gently pulling. Not wanting to permanently use the ring from my big zoom, I managed to find a ‘for parts only’ non-USM copy of this lens on Ebay. Lens works fine, the autofocus/manual focus switch is just missing. Oh, and now the rear ring has been swapped with an EF-S ring, and it’s become likely the only EF-S 75-300mm f/4-5.6 III lens in existence. But I digress… What does this then do to the image circle thrown on the full-frame sensor? Don’t know yet. But I was able to take cellphone pictures with the phone shooting through the viewfinder of the film camera, and this is what I ended up with:
At 18mm:
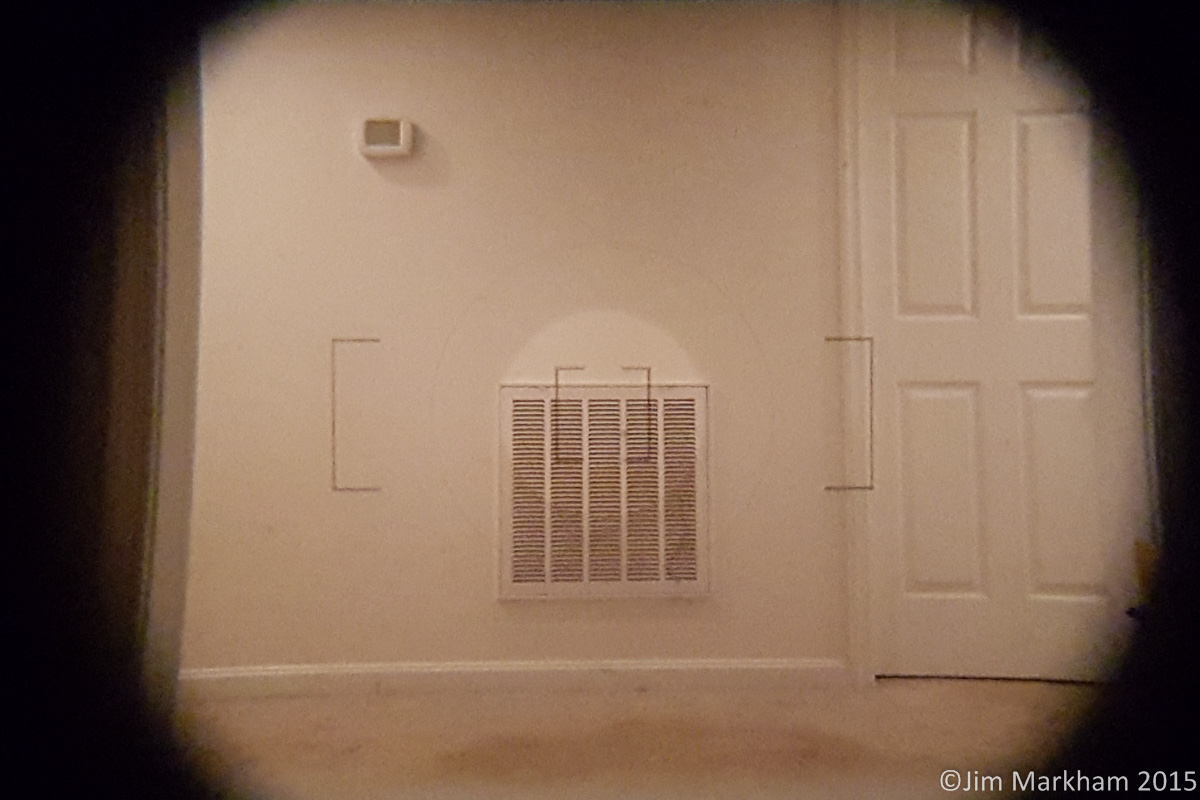
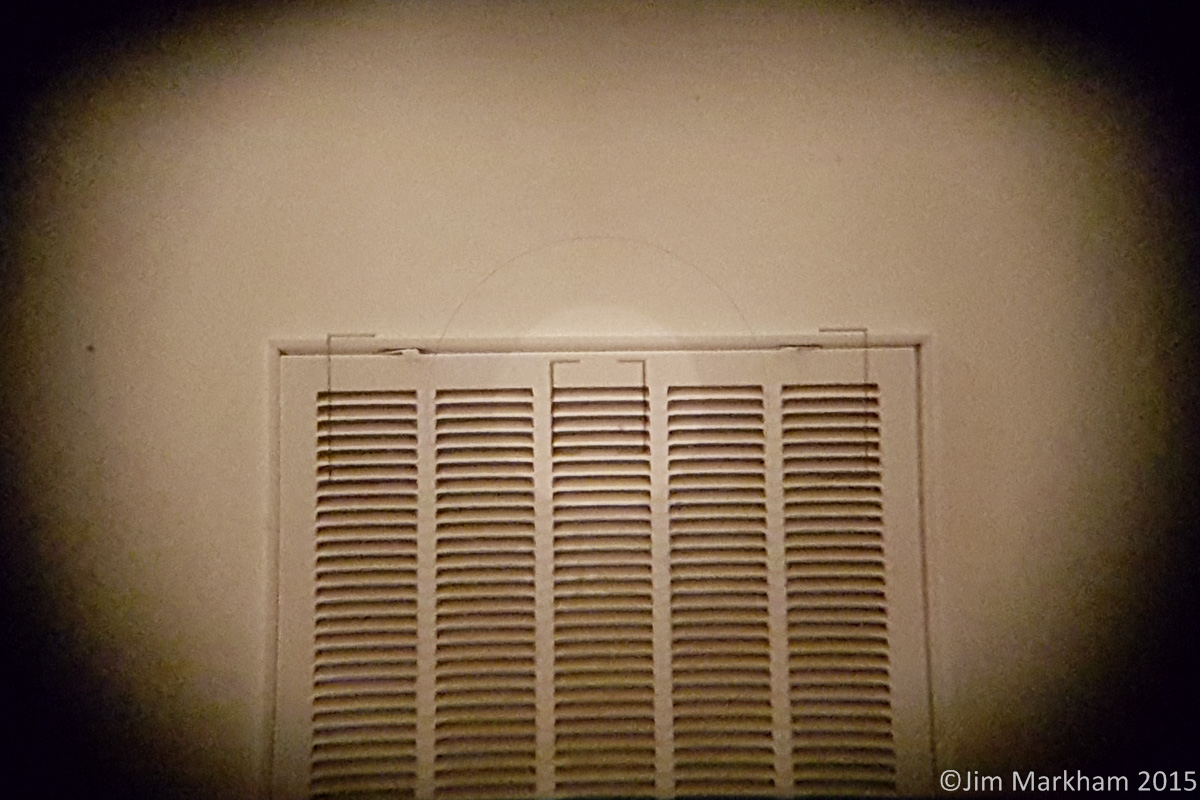
At 24mm:
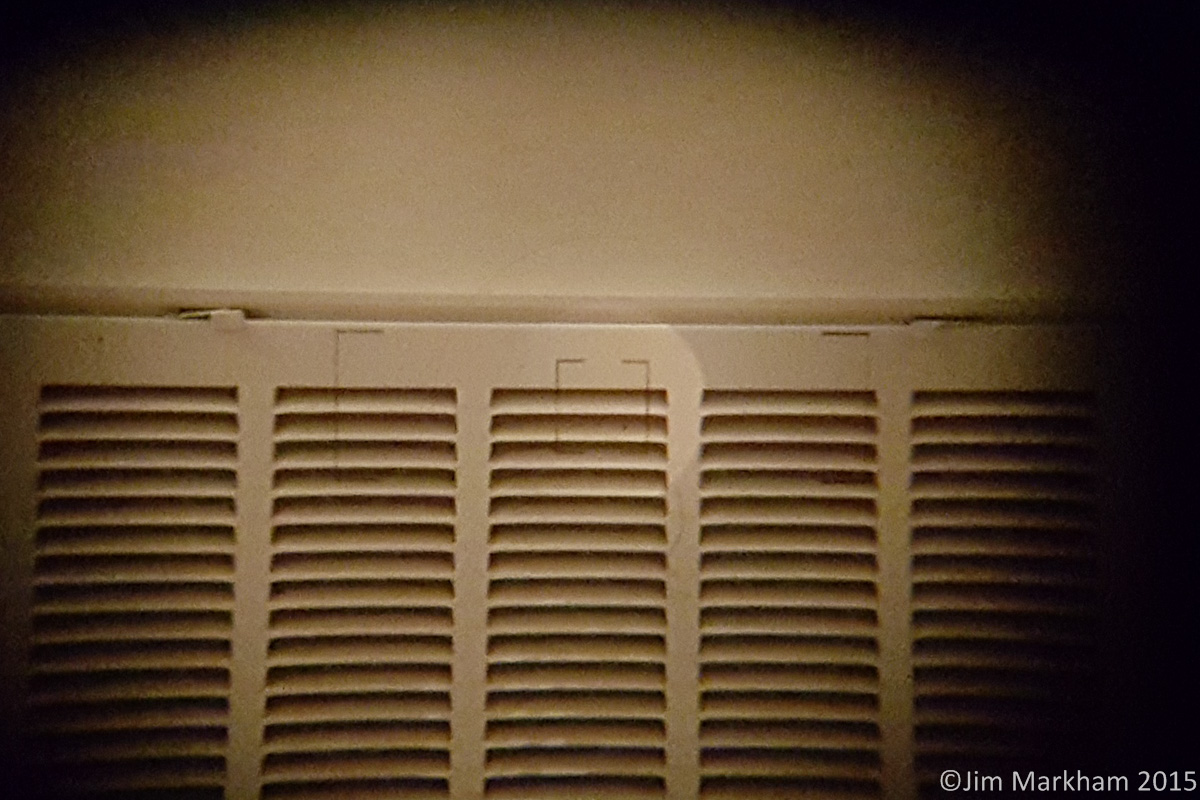
At 50mm: (phone was slightly offset left)
At 80mm: (offset down)
At 135mm:

At 170mm: (offset slightly down and left)
At 200mm:
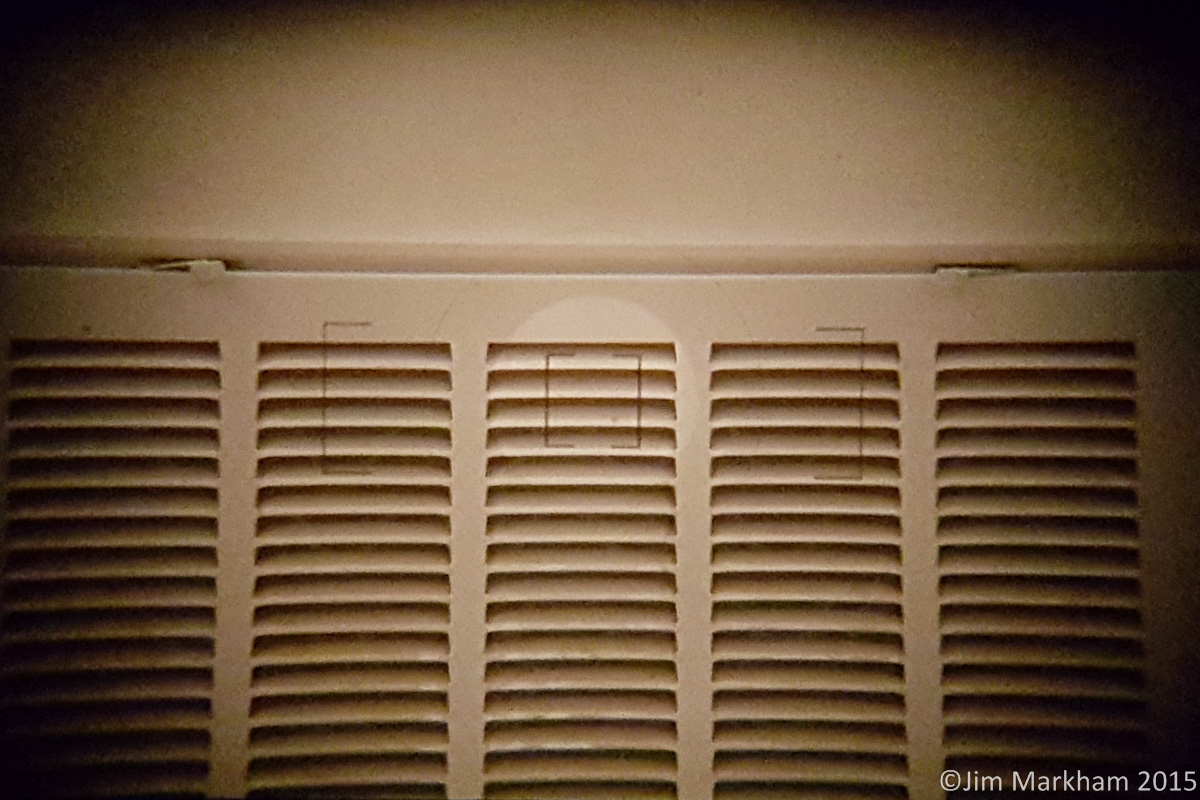
Of note, none of the images has clear aperture all the way to the corners. But they all have usable centers, and (surprisingly) the 18mm framing is less restricted than the 24mm shot. With a custom lens profile in Lightroom, I’m pretty sure I can crop out the center portion from a digital full-frame as if it were a 1.6 APS-C (or even a 1.3 APS-H) based camera, making the lens a viable walk-around ‘good enough’ superzoom. It’s not as sharp and doesn’t have the contrast of the 24-70 or the 24-105, but it gets the job done for general walkabout photography.
So what else can I do with a newly created EF-S 75-300mm? Focus it manually and shoot astrophotos! Having a very (very, very) cheap lens with good glass that I can do some experimenting with is a good thing, and allowed me to get more reach than the 18-200mm offers, albeit without image stabilization. Given that IS isn’t typically used in long-exposure astrophotography, it’s not much of a loss. Of course I can’t shoot anything longer than about 1 second without running into serious star-trailing problems, so this means I get to slap the camera on top of the telescope (piggyback) and shoot away. The weather here has been ‘meh’ of late, but this week finally saw a break in the evening clouds which allowed me a shot at shooting the stars. I’ve been meaning to re-try Andromeda with a wider-field lens, since even with the focal reducer installed I’m still only seeing a little less than a degree of the sky. Andromeda is huge. Like 6 times the apparent size of the moon huge. So fitting it in the FOV of a 1280mm lens is pretty useless. It looks okay, but you’re missing the rest of the picture:
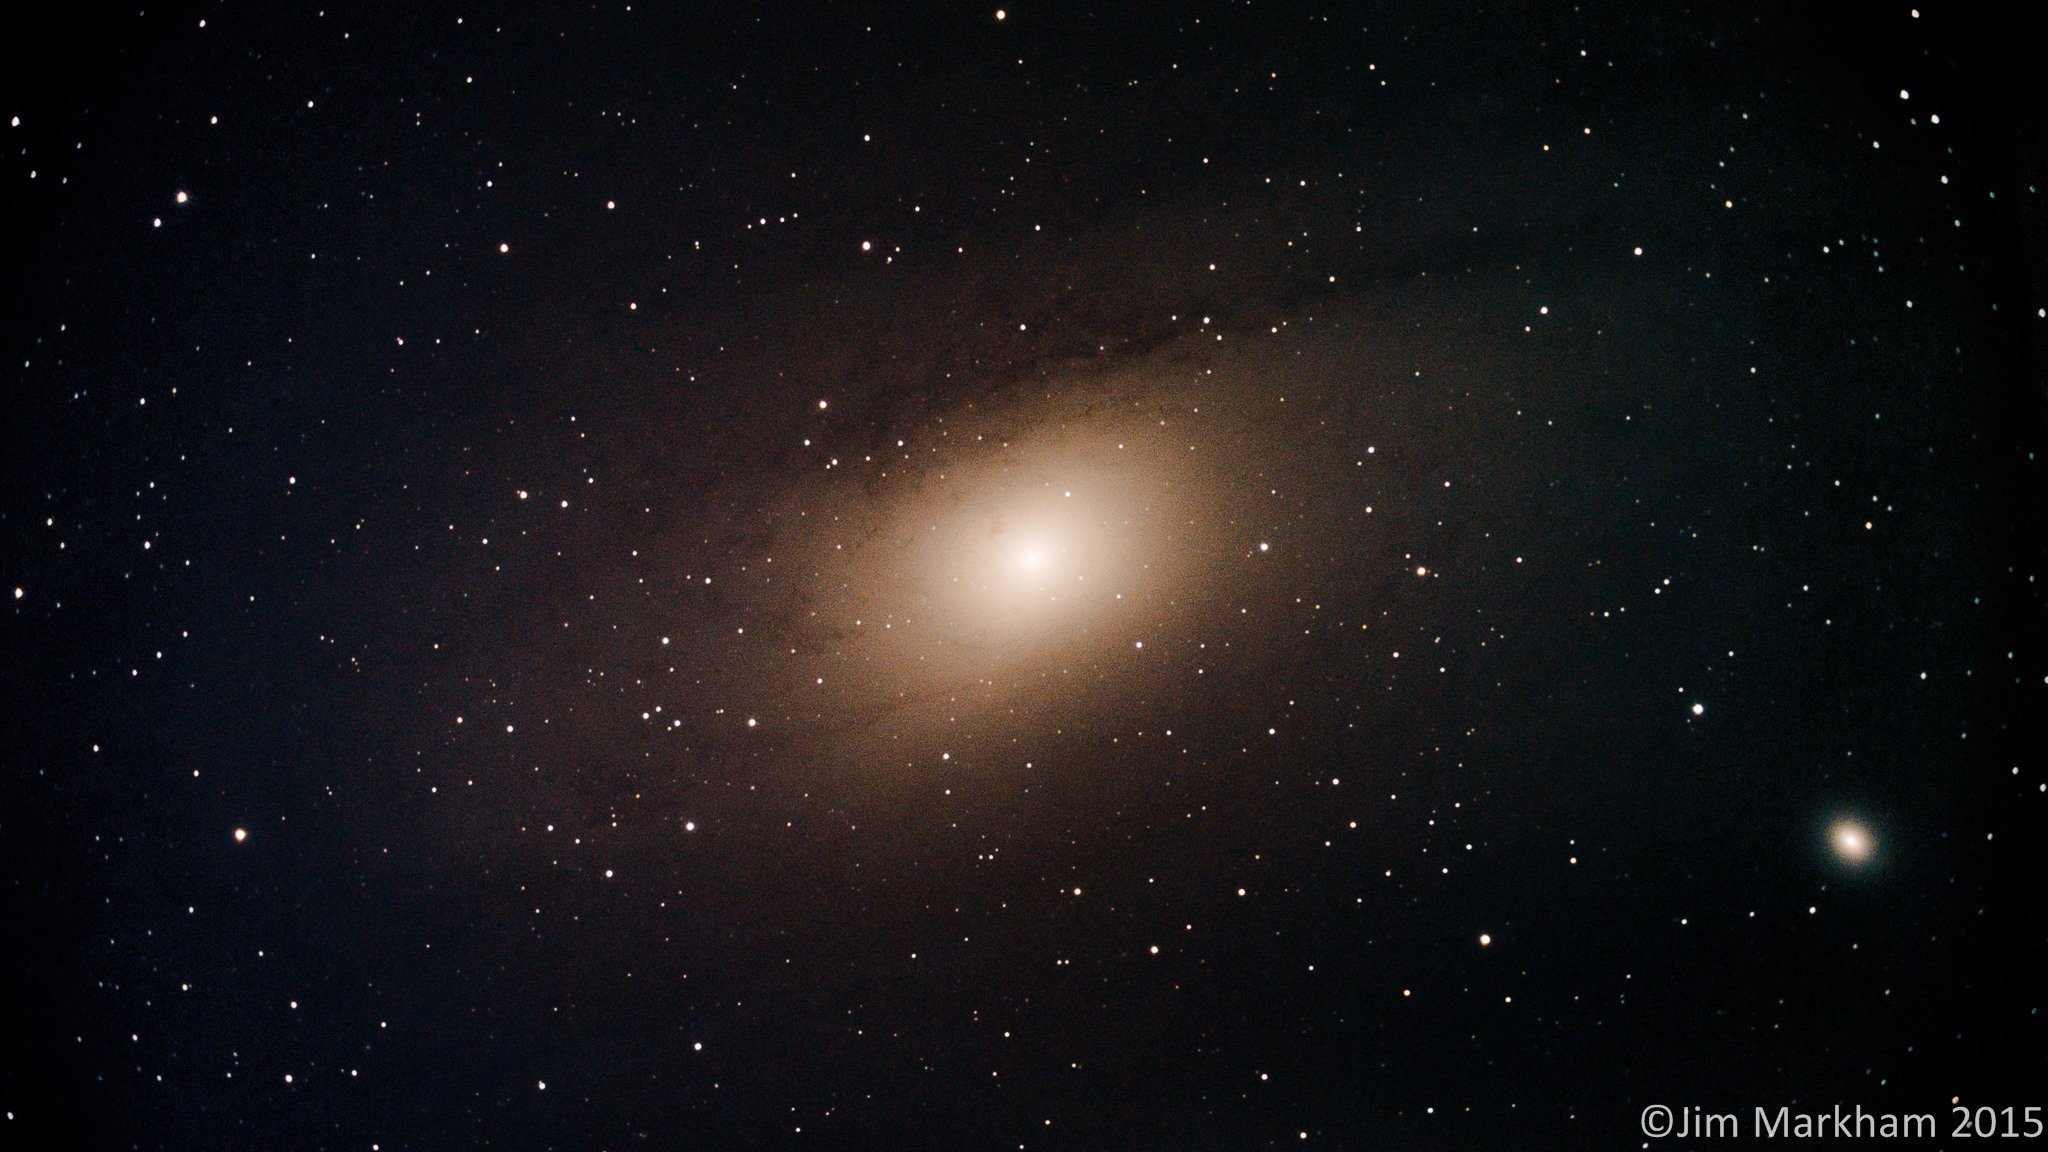
As a reference, note the ‘puffy star’ in the lower right of the frame. This is actually M32, a satellite galaxy which orbits Andromeda. The above image is a full-field shot (minus the slight rotational area lost due to tracking at the edges), without any extra cropping. The following is slightly cropped out of a stack of 41 images taken at 300mm, and M32 is visible near the 4-o’clock position , and M110 (another satellite galaxy) is also visible at 11-o’clock. For a sense of scale, the moon would fit between the center of M31 and M110 with just a little room left over. Aside from being physically huge, Andromeda is huge as it regards sky real-estate as well:
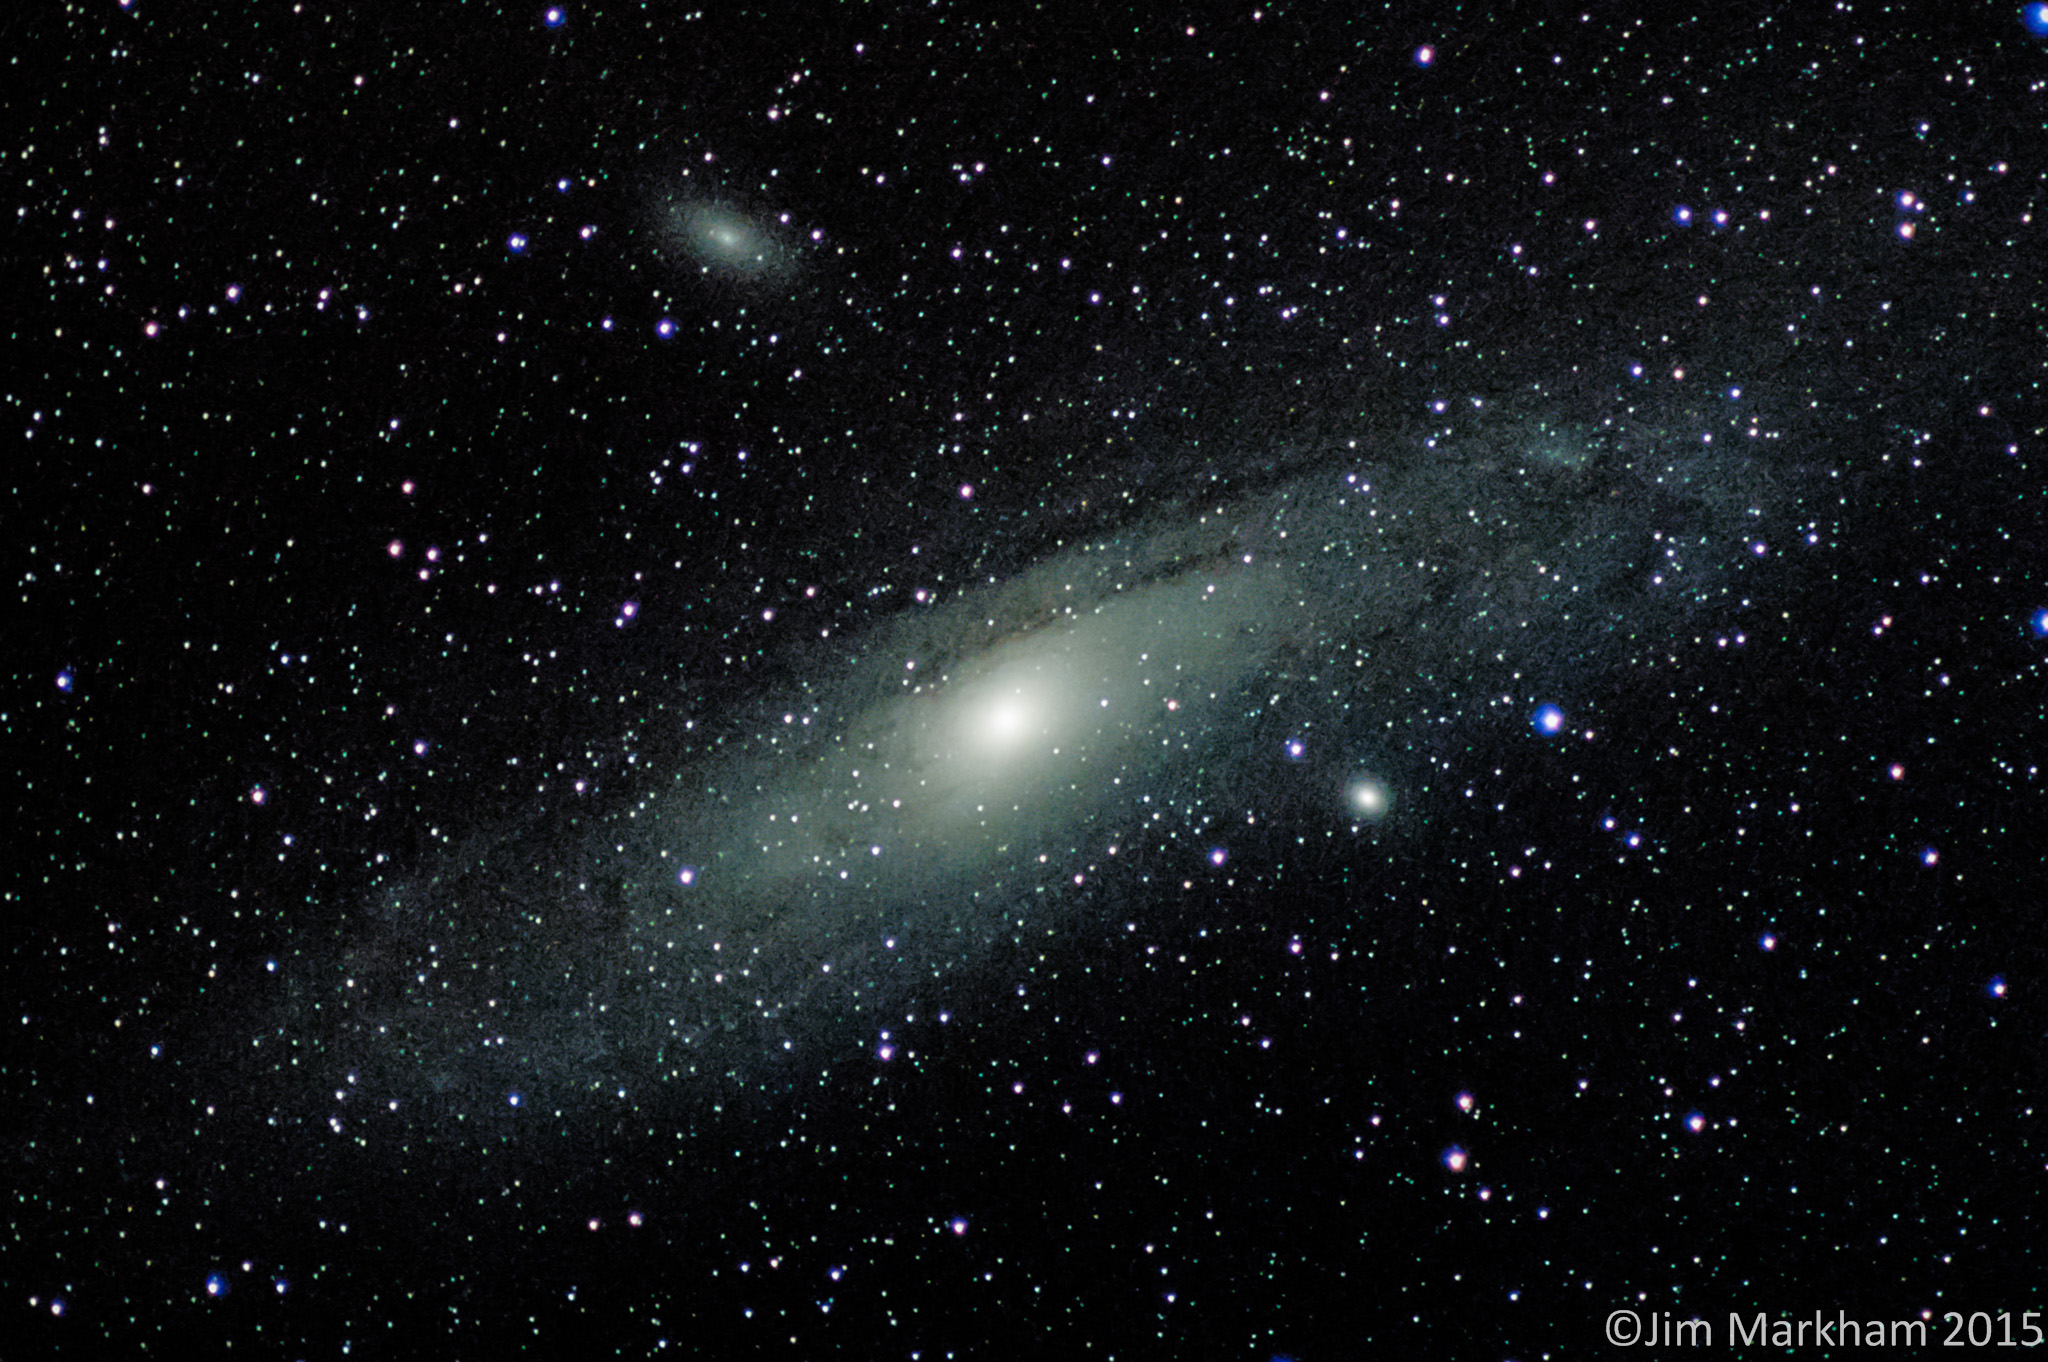
Now of course as soon as the moon comes out, there is so much light pollution as to wash Andromeda completely into the background. Also, since I’m here in the NoVA area, regular ‘people left all their damn outside lights on” LP is also a problem. Thus… I waited until Andromeda would be as close to zenith as possible (straight overhead) and during a lunar phase where the moon hadn’t risen yet. This allowed me to shoot through the least amount of atmosphere and associated atmospherically scattered ground-based light, as well as avoid lunar-reflected solar light. The notable difference in color is due to my having figured out a better way to get a good white-balance for astro-photos between the time at which I shot the first and second image.
As a third semi-related targeting topic, I finally made it to a shooting range again. Hunting season is nearly upon us, and with a new scope mounted, I needed to get Kelly’s 1903 Springfield zeroed. There are some crazy bastards up in Woodbridge that allow calibers up to and including .30-06 on their indoor range… so off I went. No pictures of the zero target (since those are pretty boring for a 20-yard indoor range), but here’s one of the ones I shot with the Beretta 92FS while I was waiting on the -06 to cool down after getting initial zero. From top to bottom, 15 rounds each at seven, 15, and 20 yards:
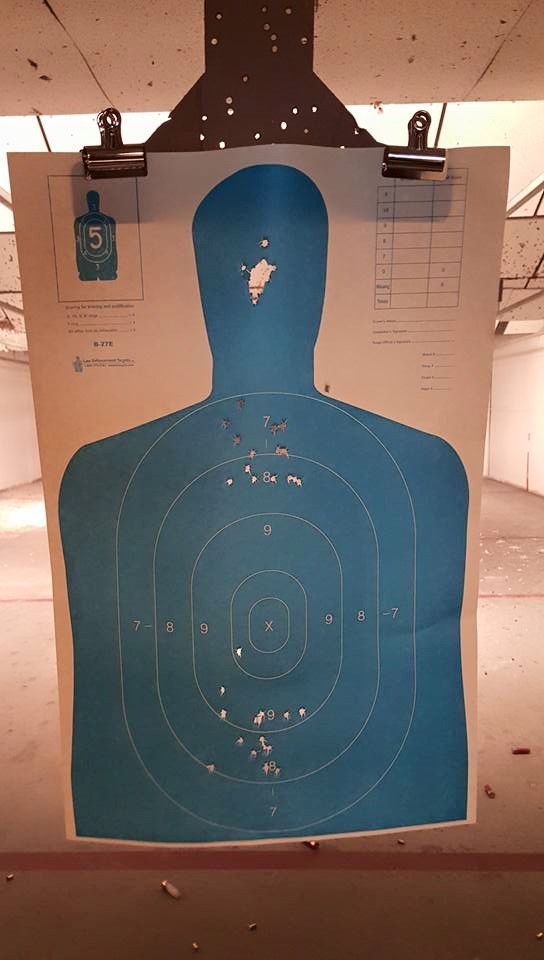
I could use a bit more practice, but did find that having adjusted my grip after watching a good number of instructional videos by the esteemed Jerry Miculek, I did indeed end up with less muzzle flip on each shot. I’m interested in getting out more often, but am not sure exactly how much that can happen given the price of ammunition of late. Such is life. In any case, I’m not at all worried about still being “minute of bad guy” inside pistol-shooting ranges.
Leave a Reply