Since Mom & Dad live at the edge of one of the best light-pollution-free areas outside rural WV (which is, btw, the best area east of the Mississippi), I’m hauling the telescope along for this year’s Thanksgiving festivities. We’ll have four nights, all with good lunar timing (phase, moonrise/moonset times, etc), and hopefully some clear (albeit chilly) observing weather. In preparing, I’ve collected a number of projects to get sorted out so we’ll have the best time observing (read: least time fussing with the scope on any nights where the weather is good), to include upgrading the hand controller, getting the pelican case padding sorted out, checking collimation on the scope, purchasing and installing a piggyback mount, double-checking star-charts, constructing a Bahtinov mask and y-mask, and re-reading all the scope alignment procedures.
Starting with the hand controller, I knew the original model that came with the scope was sufficient, but had been upgraded over a couple of iterations since the scope was new. Not knowing exactly which model controller and scope mount control I had, I looked up the directions for getting that data out of the scope. A couple minutes of fiddling with the menus, and I was able to determine that I had a good load on the motor control board, but the hand controller was of the old, non-user-upgradeable type. Off to Ebay, where I found a NexStar+ Hand Controller (the newest version Celestron makes), but in an ‘as-is’ auction. The seller stated up front that they didn’t have the scope to test the controller, but at a ‘best offer’ of less than $30 with shipping, I figured it was worth the gamble. Got the controller in, plugged it up, and voila! New hand control. Most important in this upgrade is the updated alignment and goto algorithms, in addition to increased memory and a faster processor inside the controller.
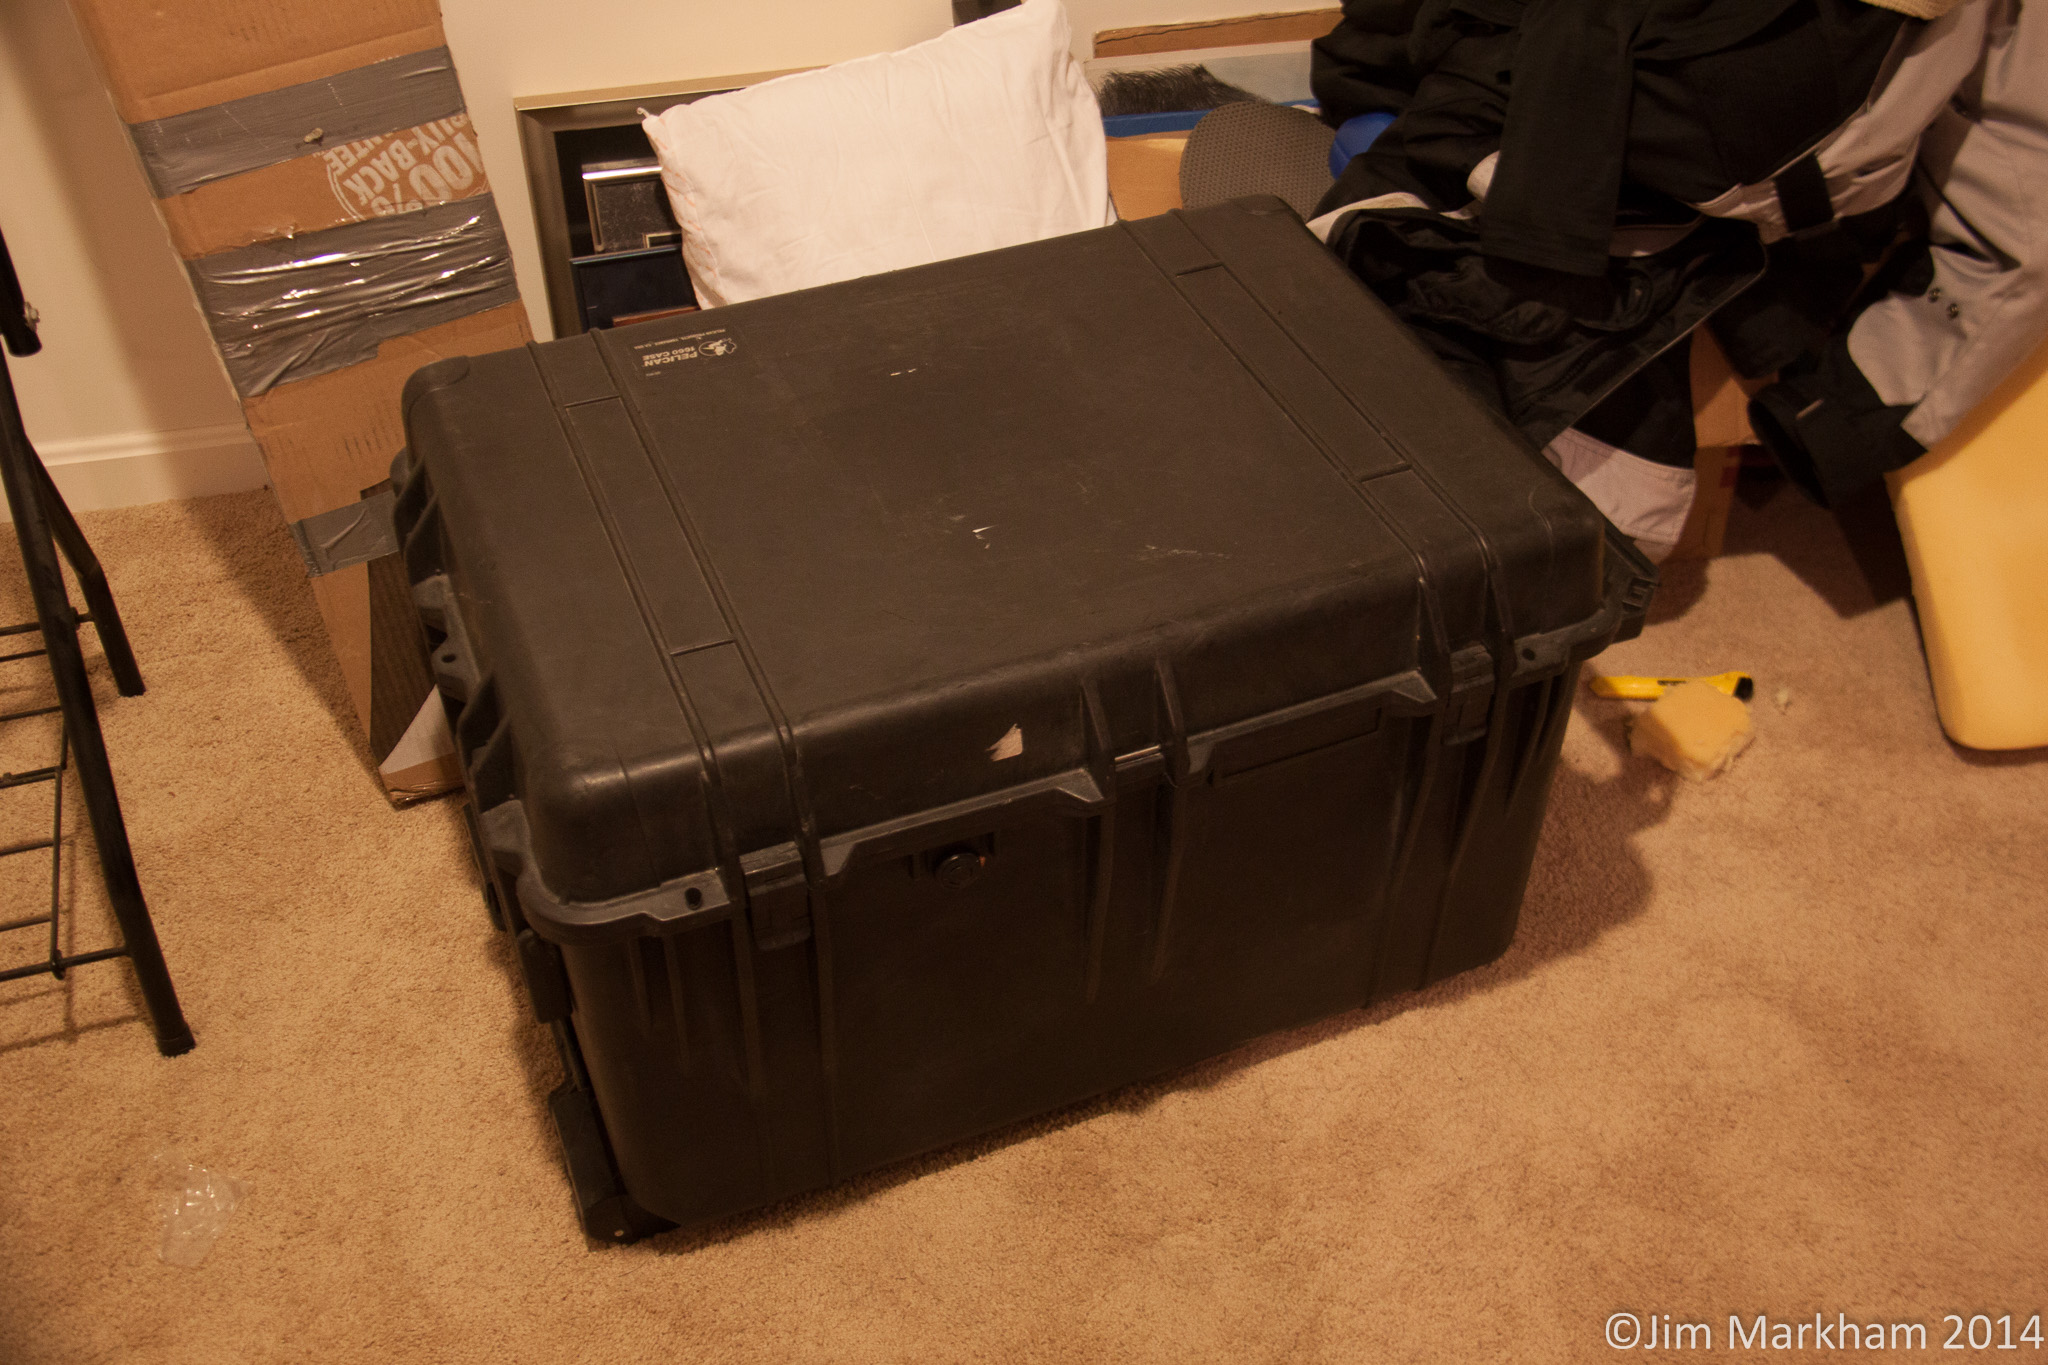
After deciding that the two ratty recliners that the homeowner in our new place left (and did give me permission to dispose of as we saw fit…) weren’t worth saving, I cut the seat pads out and salvaged it for use inside the Pelican 1660 case I snagged to store and transport the scope. I already had two 1650’s, but the depth measurement on those is about 2″ shallower than the scope base diameter, so they don’t work. After a not-too-bad outlay of $$$, I had my hands on a used 1660:
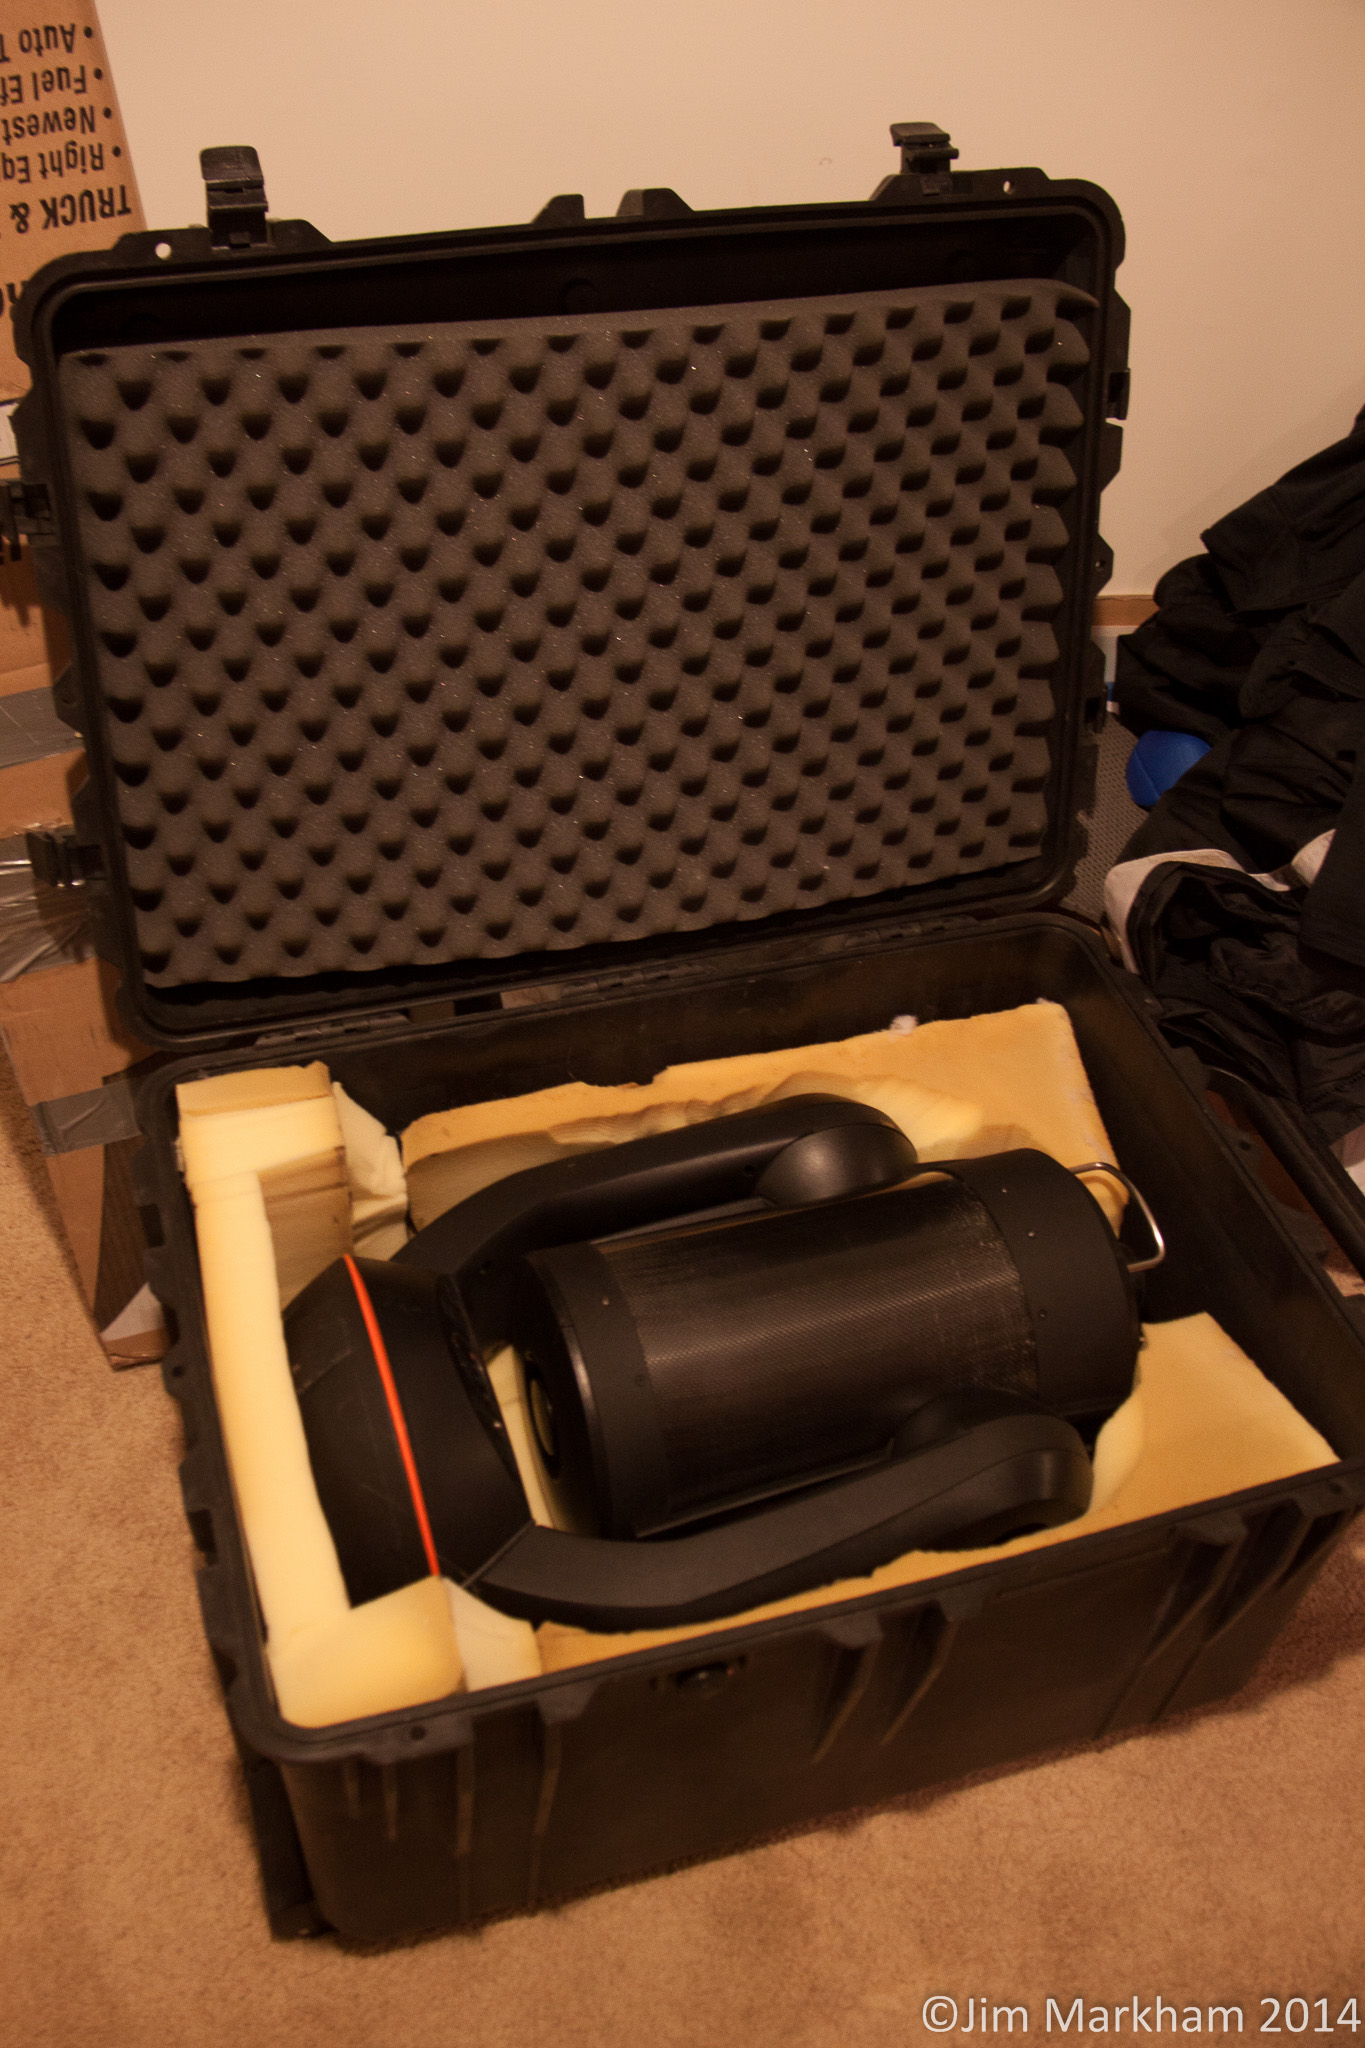
The project went on hold until we managed to get enough of the kitchen unpacked to find the electric knife, and then I went back to work. It still needs some Krylon latex paint for ‘finishing’, but it’s all glued together and holds the scope quite nicely. Still wouldn’t want to throw it off the back of a truck at speed, but for general bumping about between the garage and the field, it’s very, very well protected.
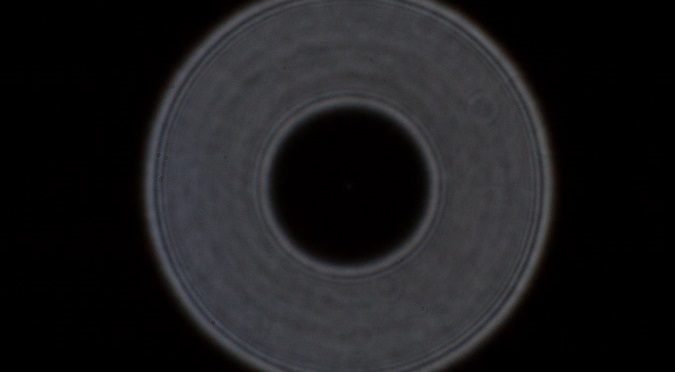
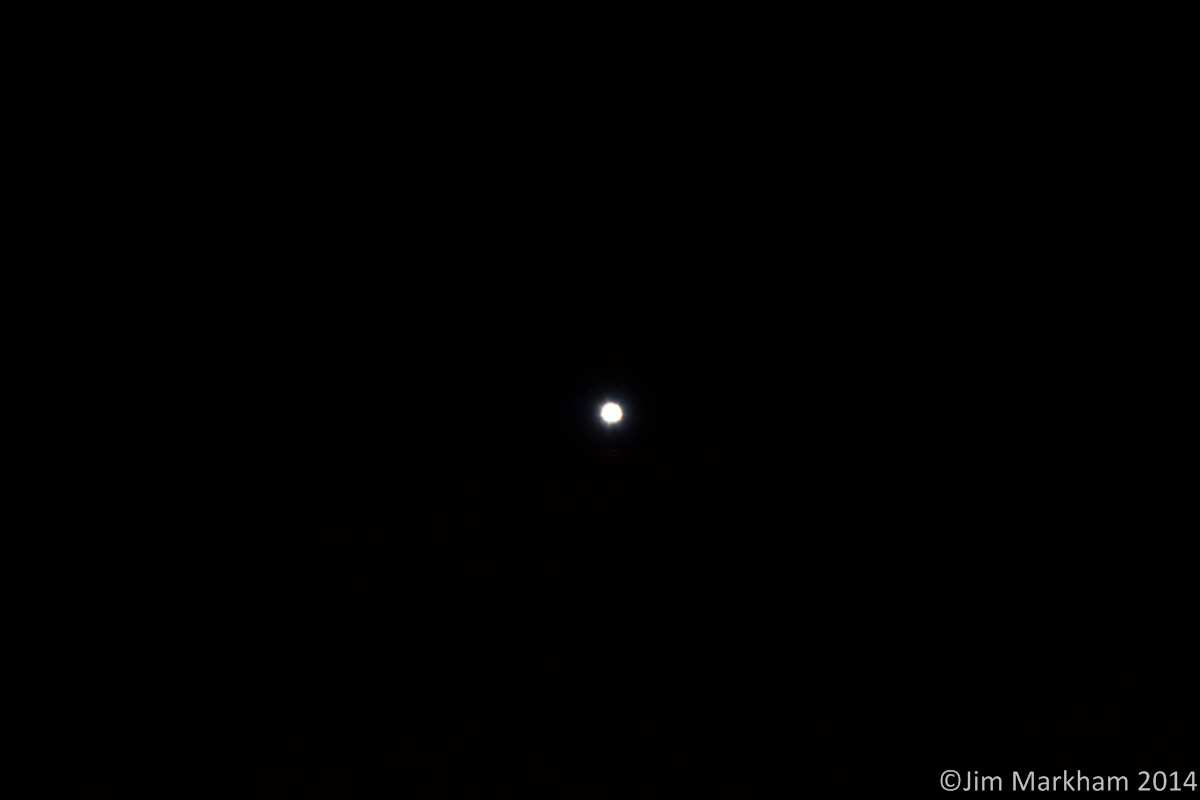
As a corollary to upgrading the storage case, I wanted to check the collimation on the scope itself. In layman’s terms, this means adjusting the front mirror on the front of the scope (the secondary mirror) so that the light coming out of the back of the scope is parallel to the way it came in. Light comes in through the corrector plate on the front of the telescope, bounces off the primary mirror at the back, travels up to the front and bounces off the secondary mirror, and then goes back through the hole at the back of the scope and into either a camera, or an eyepiece (and then out to your eye). The alignment of the primary mirror at the back is fixed, and the front (secondary) mirror has three screws with which you can adjust its alignment. The way you check the alignment is to point the scope at a fairly bright star (or proxy, as I’ll note later), and then de-focus the scope. If the collimation is set correctly, the single point of light should turn into concentric rings. If the collimation is off, the rings will skew into more parabolic shapes as the light isn’t coming in parallel. The featured image for this post is a shot I took with my camera attached to the back of the scope, with my proxy star defocused. Here it is full-sized:
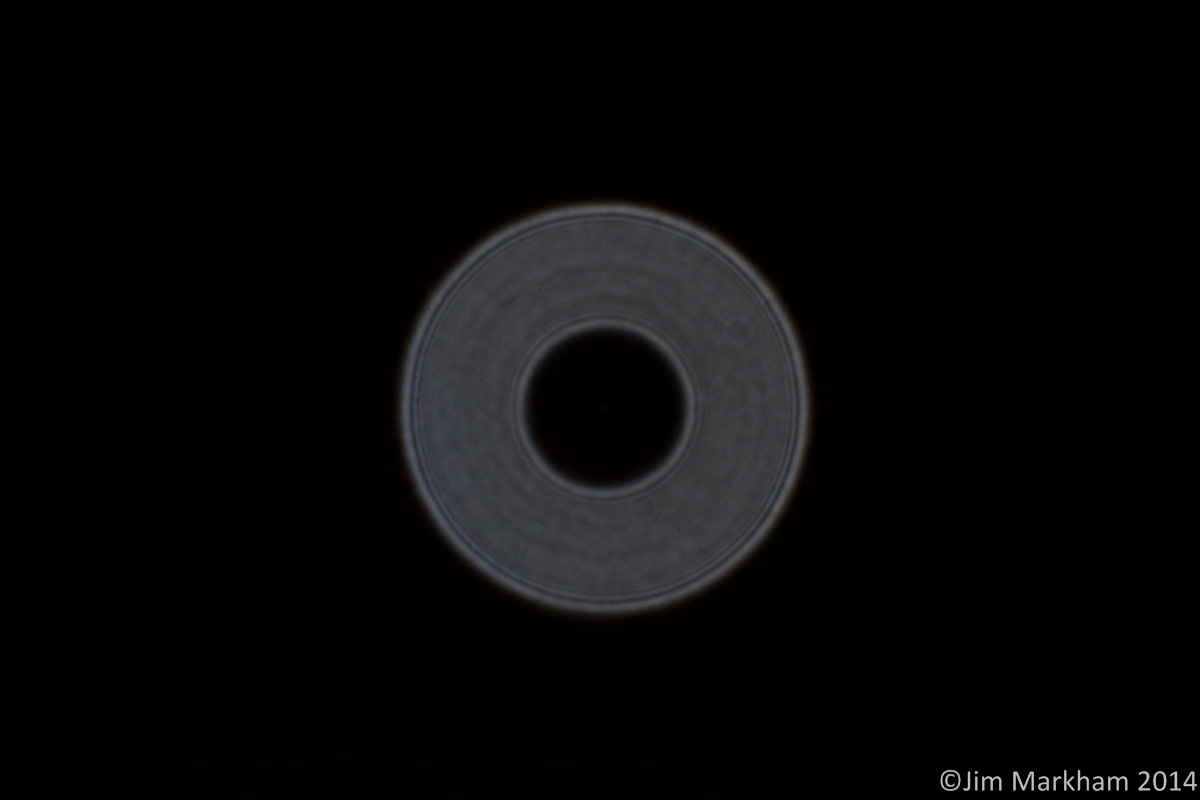
Roll the scope focus knob back into focus, and you get this:
(On reading more online, it appears I needed to re-do this with actual stars since my ‘pseudo-star’ may have been too large. So, I lugged the scope out in the driveway tonight, and it’s still dead-on… Sweet!)
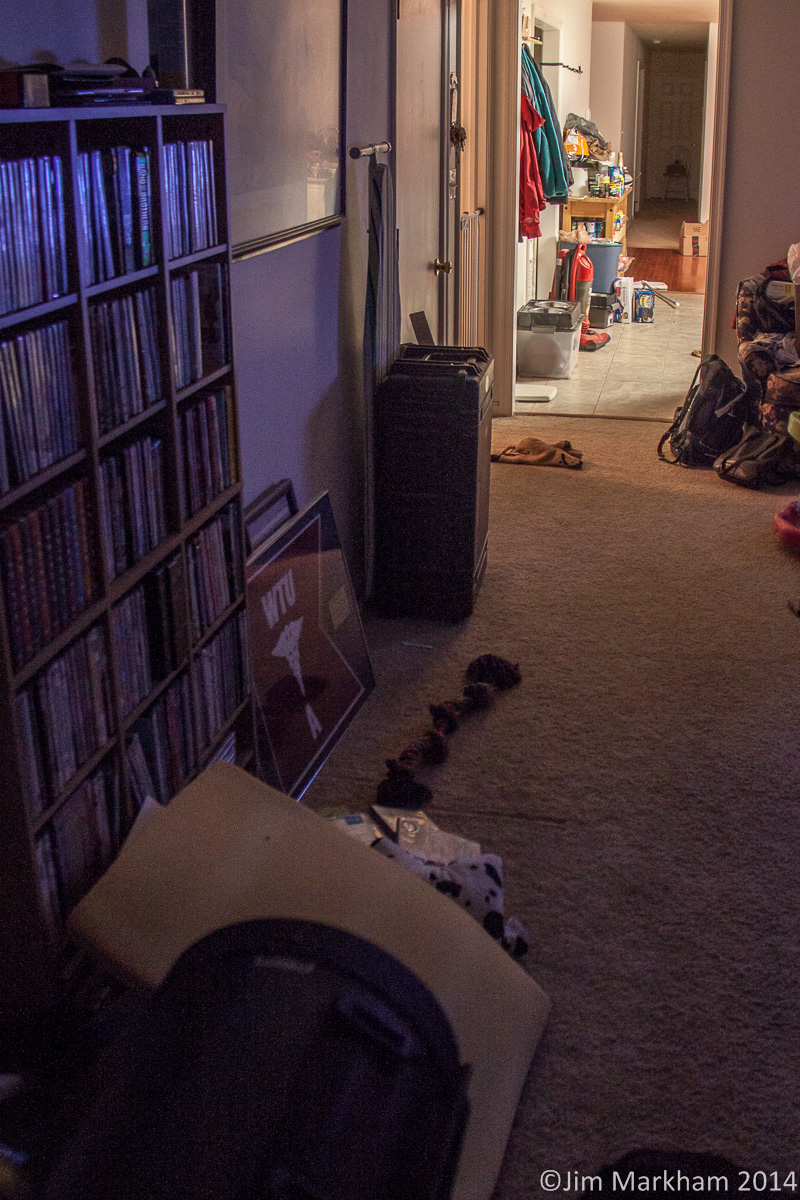
For a bit of scale, here’s a crop from a 18mm focal-length image depicting the scope (lower left), and the ‘proxy star’ – a tiny hole poked in the side of a box with a flashlight inside – on the upper right, some 60′ away at the other end of the house.
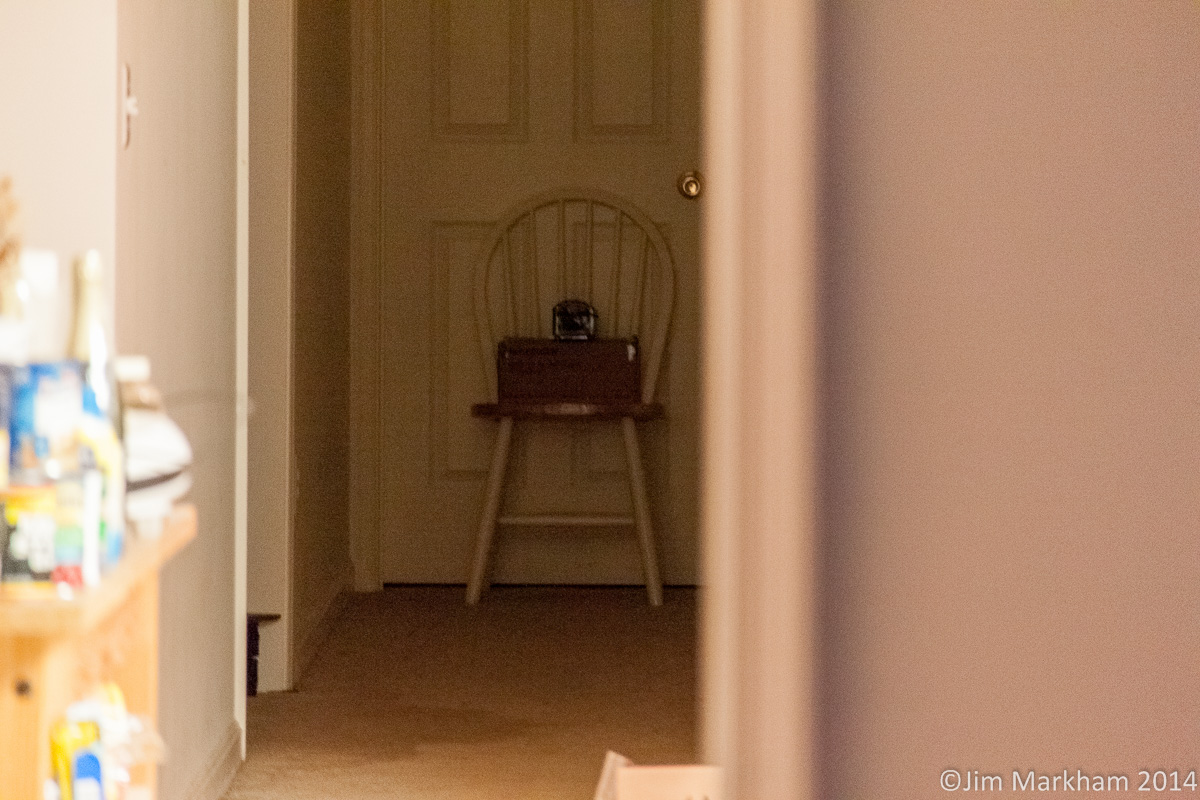
Here’s what the view down the hallway looks like at 200mm:
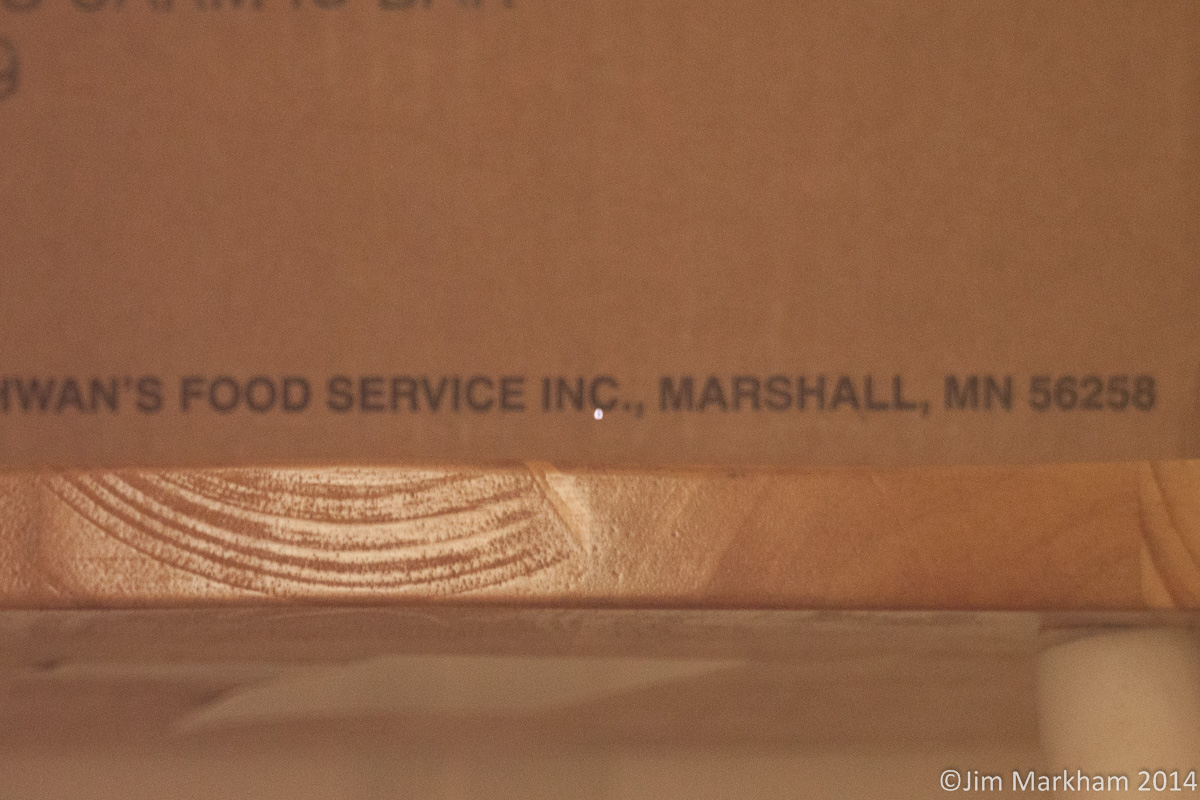
Now to give you a hint at the magnification that an 8″ Schmidt-Cassegrain telescope at prime focus gives you (appx 76x for a crop-sensor camera), here’s what the view through the scope looks like, 2032mm focal length, f/10, 3200 ISO, 4-second exposure:
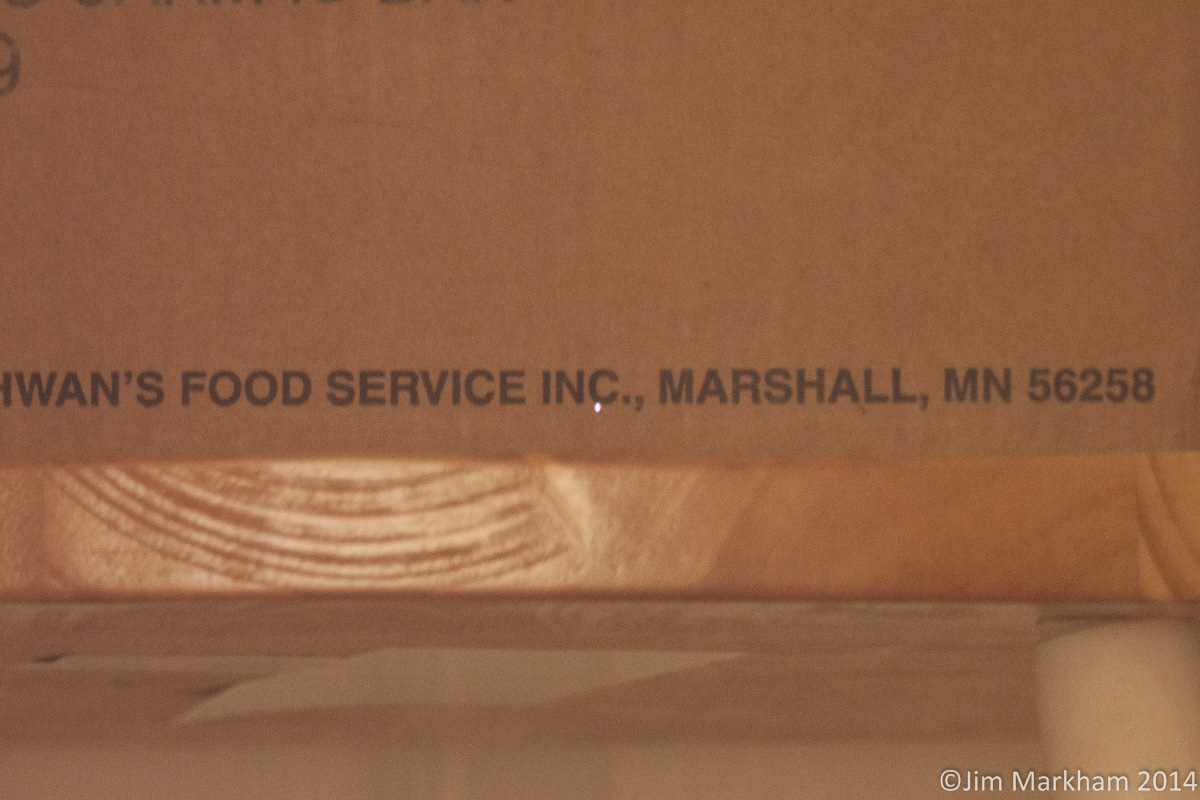
Finally, it’s significant to note that the depth of field, even at f/10, when you have two meters of focal length, is quite thin. Thankfully, Dada had an extremely fine-detail Feathertouch focuser installed on the scope, so I was able to obtain dead-on focus both at the front of the box, and at the front of the chair it was sitting on (about 6″ different). With the Feathertouch, this was a full 3 turns of the fine-tune knob (1/10th reduction from the main knob):
So looking foreward to next weekend! Food, family, and with some luck, clear skies!
Leave a Reply