Yes, that post title is confusing. but here’s the explanation, second half first: We’re going on vacation, and will be getting away so we have some us time, and some time with family, and some time away from the island. Since we’re going to Alaska and I’ve never been there, I thought it a good idea to rent a wide-angle lens to get some good perspective shots given the hugeness of the place. I’ve read in a number of places that one does not use a wide-angle just ‘to get everything in the shot’, and there’s definitely some merit to that. Just having had the lens in my possession for a little over 4 hours now, I can definitely see how someone would just frame up “here’s everything… click!”. But the trick is finding something to highlight, and get CLOSE to it.
A bit of stage setting: I had the camera in the truck when I got to the FEDEX office to pick up the rental, so I shot a series to highlight just how stupid wide 10mm is. All three of these were shot offhand, using the square white box next to “Fuel Econ.” as the center aimpoint.
50mm f/1.4:

Now the EF-S 10-22MM at 22mm:

And finally at 10mm:

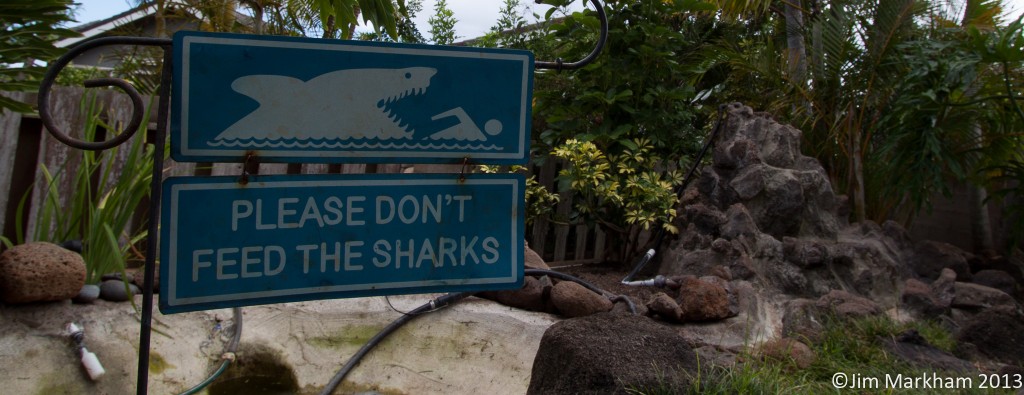
Camera was held the same way and aimed at the same thing in all 3 shots, and all of a sudden there’s just more stuff! However, the lens is designed and built such that there’s very little distortion, and it isn’t a ‘fisheye’ lens so the perspective is nice. This can make for some nice composition actions, such as getting to within about a foot of the sign in this pic, and yet still managing to get the entire landscape in the background (please excuse the green pond, I was re-draining it prior to our going on vacation…):

Of course you can get the wonderful “something is very, very highlighted in the image” while still managing to get the whole background in by getting very, very close to things:

This should come in quite handy in AK when I’m trying to get someone close up and still capture all the stuff going on, say, fishing for halibut! More pictures definitely to follow. In other developments, I finally got around to taping off, sanding, and spraying over the chipped spots on top of the Concours’ tank. Made sure not to put it down where my knees hit the tank so it wouldn’t tear pants up like the Superhawk tank did, and overall it turned out okay. I’ve done better work, but I’d rate this job as ‘good enough’. Now it gets to sit and cure for the next week and a half before we get back!

I used the fairing inserts on both sides as a guide as to where to start the liner, and went ahead and sprayed up onto the plastic fairing sections by the glovebox on each side for continuity. Like I said, it turned out decent, and I may end up doing the same treatment to the saddlebag lids to keep them from looking all ratty from constantly being kicked and scuffed on top. Even looks kinda arty when you check it out in B&W:

Leave a Reply